Howling at the Moon, 8 :: home :: |
The knee bone's connected to the...
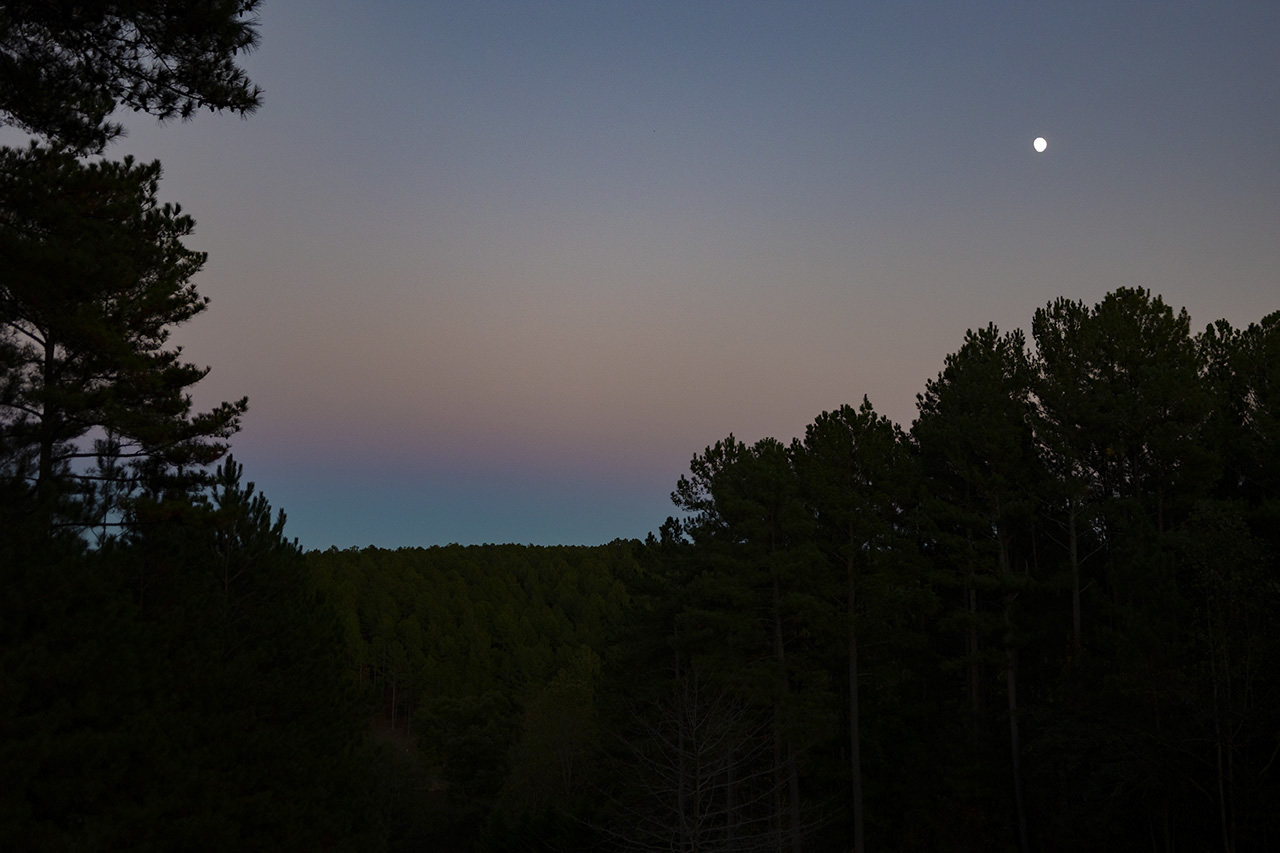
10/16/2021. In the twilight, I tried several configurations of adapters, spacers, Barlows, and filters as well as the new Imazing 20,000 mah (why not just say 20ah?) battery pack / jumpstarter. The Clear Sky Clock said seeing this evening would be dreadful. I didn't need good seeing. I used the waxing gibbous Moon to find and record some solid connections between telescope and camera. The seeing was every bit as bad as forecast. I tried an IR-pass filter and a solar continuum filter to see what effect they would have with a small aperture in really lousy air. The IR-pass filter requires about 10x more exposure than no filter; the continuum filter takes about 3x as much exposure as the IR-pass filter. Tonight, the faster exposures, the faster frame rate, and the deeper stacks the absence of these filters allowed mattered more than the filters. In short, the filters might improve average or good seeing but they won't rescue atrocious seeing. As I was getting started, I looked up to see the shadow of the Earth rising in the east, the "Belt of Venus." I sent this photo to Paul Lewis on Facebook:
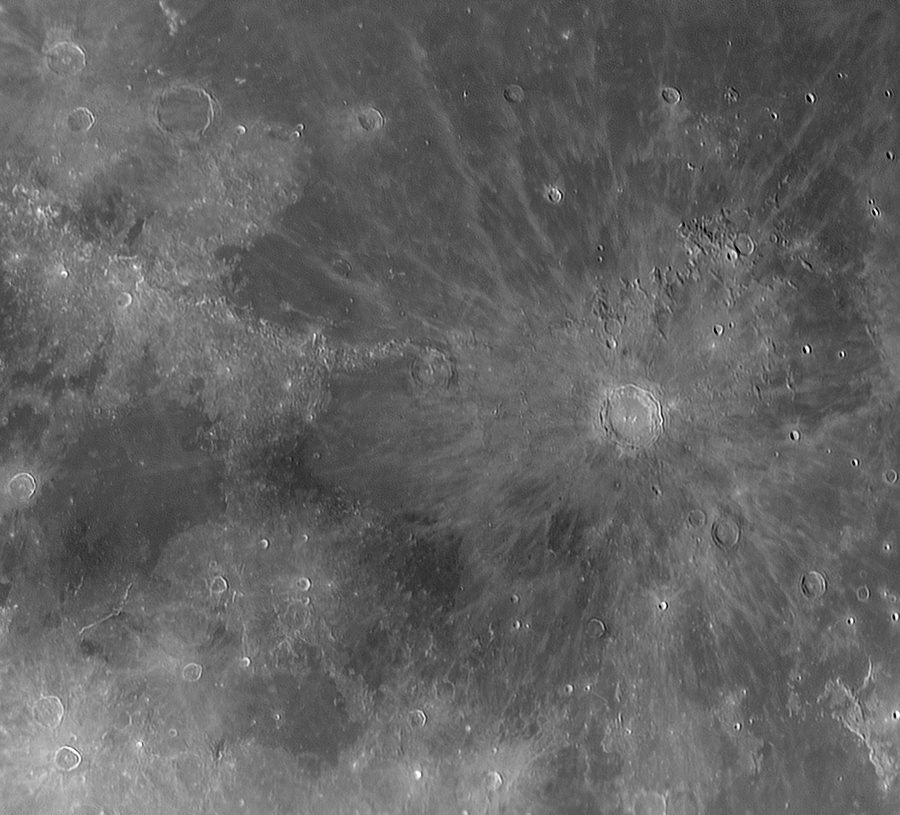
10/17/2021. While documenting yesterday's arrangements, I realized how incredibly clumsy and (if I may) stoopid some of them were. So I hauled the kit up to the cul de sac and tried saner connections around midnight. Perfect. I dug the old TeleVue "Big Barlow" out of the case with binocular viewing accessories and used it in place of the GSO Barlow. Measuring from Copernicus to Eratosthenes yields these plate scale measurements:
I thought the TV was a noticeable improvement. Next time, try the GSO Barlow and the TV Barlow together, reserving the Svbony barrel sans lens as a filter holder. That could be a nifty setup. And think about finally adding one of those 5x Powermates to the kit; it would simplify much and use only premium glass for the high magnification efforts. The Imazing battery pack will not run more than 30 seconds before unceremoniously turning off the 12v output. It worked well last night, but is useless this night. I plugged into the Subaru's accessory jack since I hadn't recharged the heavy AGM battery. Imazing Power's support line responds quickly but without giving me the impression that they're on top of this issue. I was convinced that the unit was faulty; they apparently agreed and sent me a new IM29 power bank.
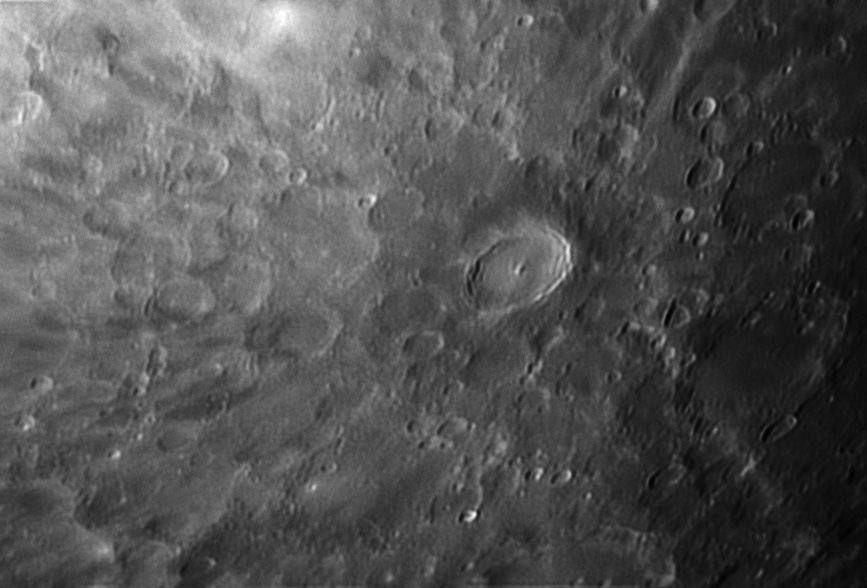
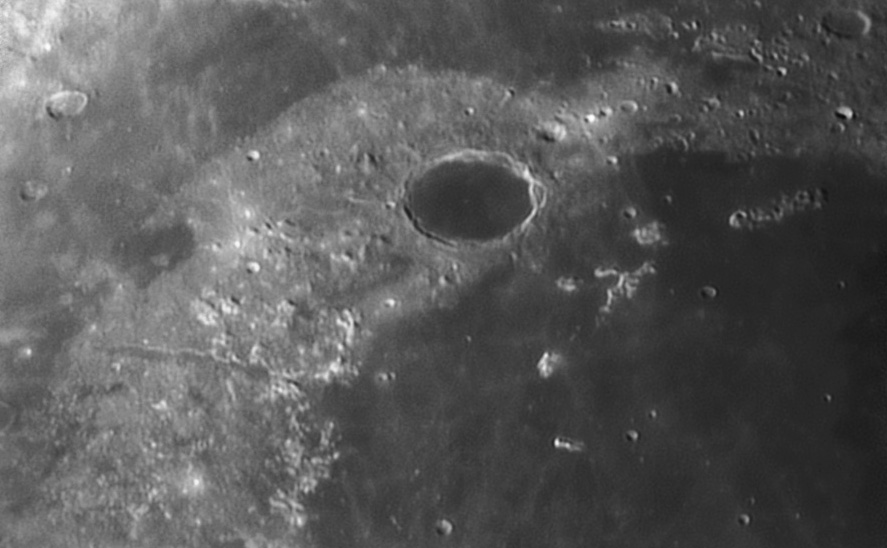
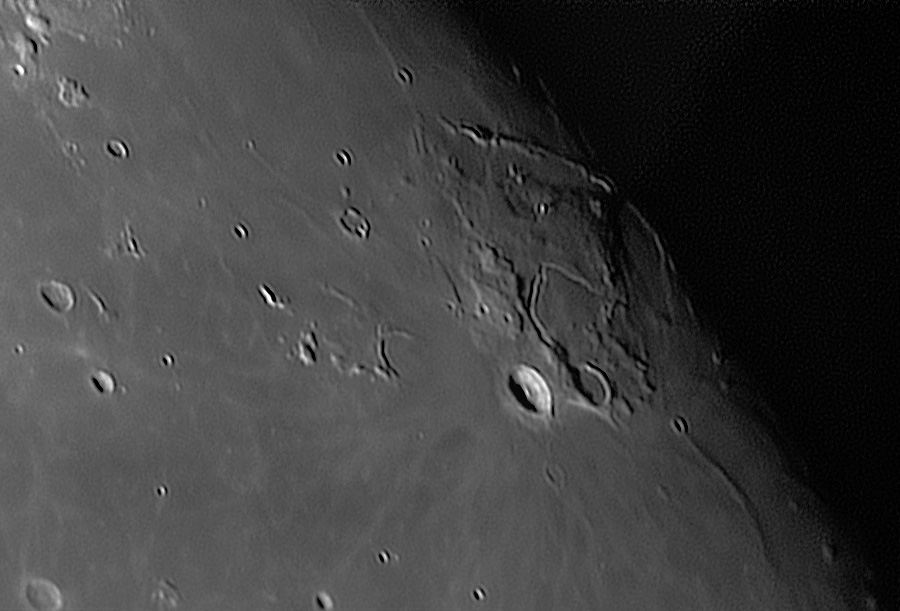
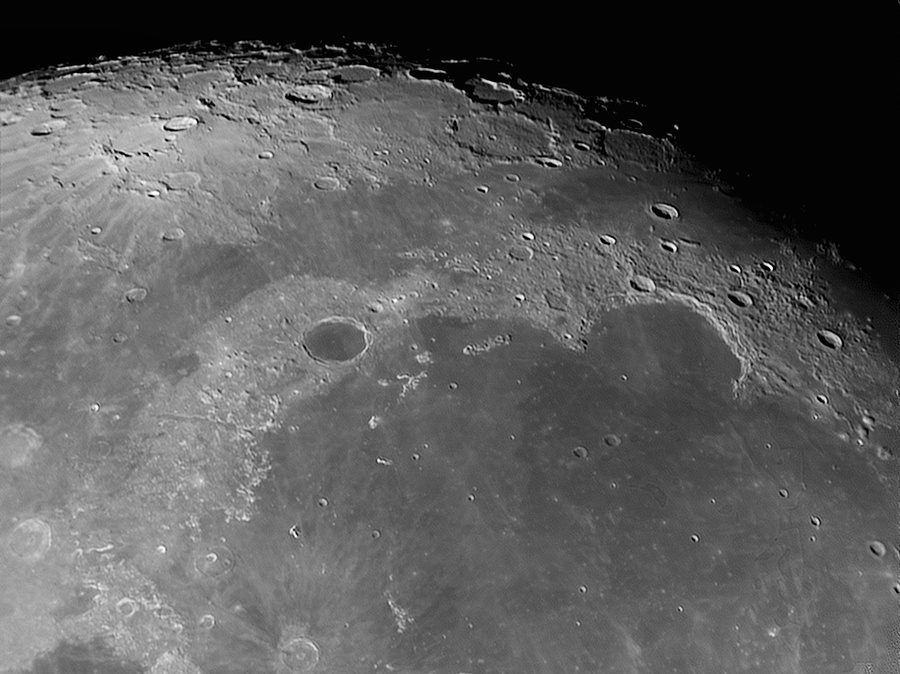
10/19/2021. I burned 130GB of storage during the previous session and spent much of the next day refining the videos. I got tons of practice in Autostakkert!3 and IMPPG. Here's a selection from the photos in the cul de sac the night of 10/17-18. Each is the best 500 frames out of 2,000.
This is coming right along. Two lessons: (1) I did a mosaic of four captures of Plato and Sinus Iridum using a ROI of 1200x800 and reshot the field with an ROI of 2400x2000. Save the effort; use as much of the chip as you like. Copernicus was also shot with the wider ROI. The only downside is fewer frames per second, and you still have plenty of those, ~40 instead of ~100. (2) With tall stacks, under-exposure is really not a looming problem. Some of those captures live deep on the left side of the histogram, probably 2 stops under what they should've had. Get the exposure right when you can, but if you need a faster than ideal shutter speed, it'll be fine if the stack is tall enough. A new project: around Halloween and again around Thanksgiving, the Moon's librations will bring Mare Orientele and its environs into excellent position with the Moon high in the morning sky. Be ready. I plan to standardize on the TMB92 for a while longer. I really want to learn the ropes with the little guy before putting my back at risk and courting frustration with the R-C (but I'm thinking that with bigger glass, tall stacks of short exposures with the IR-pass filter will be striking). Yeah, it will be. While looking for previous attempts to look across Mare Orientele to the far-side mountain ranges, I founf Claude Navarro's shot of that subject. He show this earlier this month using a C14 and a red filter. Cut and paste this into your browser: https://www.cloudynights.com/topic/791832-mare-orientale-on-october-1-2021/ You might need to be a CloudyNights member to see it, if so, just take my word for it: it's great. I copied it, sampled it down to what I might get with my smaller glass, and the subject is well worth pursuing.
10/29/2021. Be aware of something called the "Gibs effect" or "Mars rind" which produces artefacts on bright features (high contrast lunar features, limbs...). You've seen this recently when doing preliminaty imaging of Mare Orientele and it may have much to do with the problems you see around bright crater rims, isolated sunlit features, etc. What you think is computational "ringing" may be an exagerated diffraction phenomenon. Partial mitigation might be accomplished by layering with the unsharpened image, using a different blend mode with the emboss trick, etc. Experiments are in order. See the bullet points below for your homework. I had some success with the Hadley Rille data from 10/27 -- enough to be suggestive, not to show off. The rille region appears in at least three frames from that morning with different scales, exposures and sharpness. Play with those clips. Here's a link to a good discussion of at least some of what I'm on about: Some random thoughts from the shower, jotted down before hitting the sack:
:: top ::
|
 Tycho
Tycho
© 2021, David Cortner