|
|
November 10. I'm using the thick clouds and heavy rain sent from many states away by tropical storm Ida to prepare a vintage, manual-focus 200mm F2.0 EDIF Nikkor for action under the stars during the next clear spell. (Almost exactly one year ago — 11/18/2008 — I was messing with this glass for daylight use, but now I remember why I bought it.) I have no way to use H-a filters with this lens on the Canon, though I'm working on that, so I won't be bucking moonlight with it very soon. Compared to the 70-200mm F4 Canon (stopped to 45mm aperture), this big Nikon lens should collect over ten times as many photons per second (or, since I won't be selecting only those that pass through the eye of a spectral needle, about 500 times as many). This lens is what I had in mind when working up the heavy-duty camera mount. It's not needed for a lightweight combination like a DSLR with the Canon 70-200mm F4, but the 200mm F2.0 Nikkor is massive. When not used as an astrograph, you could moor your houseboat to it. Seriously. This afternoon, I downloaded, tried, and immediately registered a copy of Neil Carboni's "Starspikes Pro" plug-in for Photoshop. This will take some 'splainin', so bear with me.
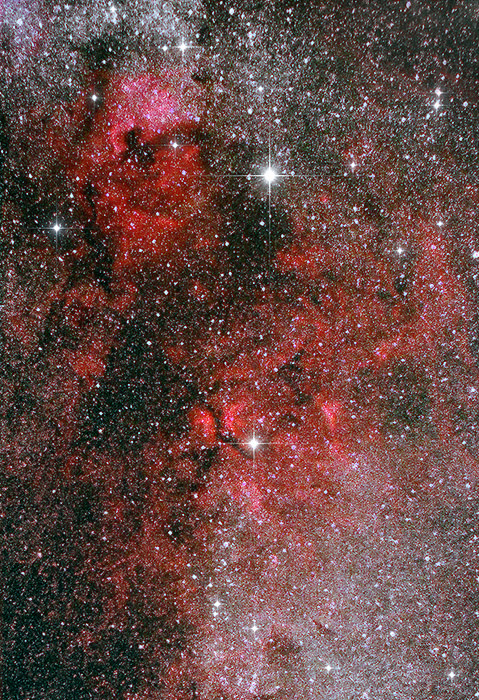
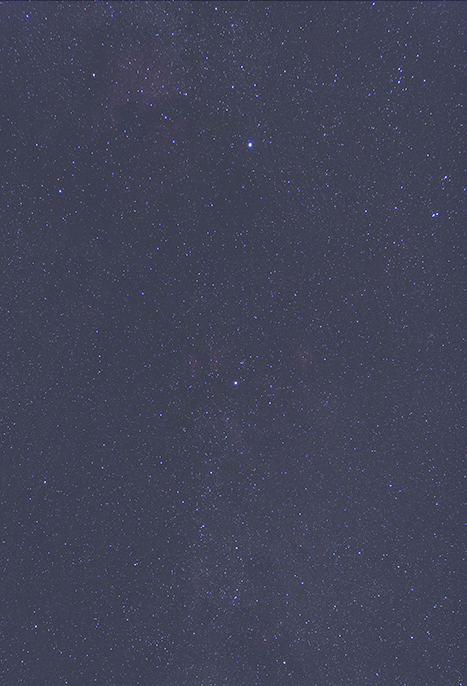
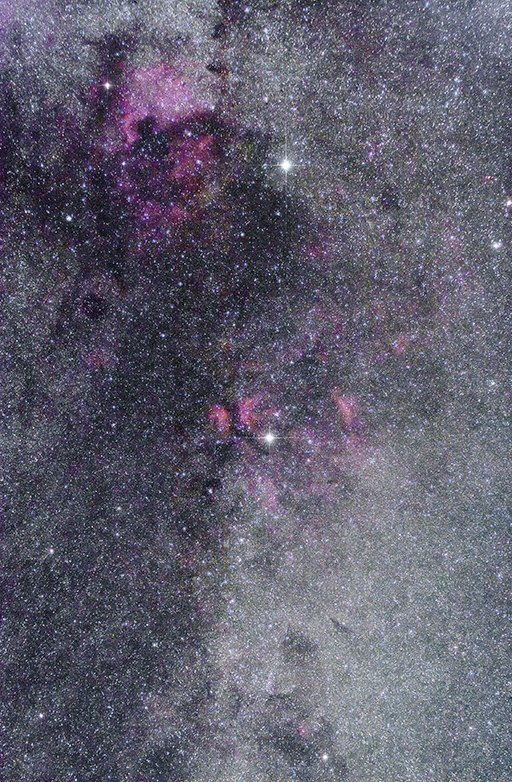
Whenever you make astrophotos with telescopes having a secondary mirror suspended in the optical path, bright stars are graced (or plagued) by "diffraction spikes" because of the way starlight behaves when it passes the vanes holding the secondary mirror. Really elaborate crosses and radial patterns can be generated. The same thing happens when you use a telephoto lens with the diaphragm closed down even a stop or two: the sharp corners formed by the intersection of the iris blades cause multi-point "stars" to form around every point source, whether sun-sparkles, real stars, or catch lights in your subject's eyes. These effects are present in a lot of classic astrophotographs by virtue of the equipment used to make them. The Palomar 200-inch, the Hubble Space Telescope -- most observatory instruments -- as well as virtually all Newtonian reflectors, Ritchey-Chretiens, some Schmidt cameras, etc., produce them. Refractors, SCTs, Maks, and wide-open camera lenses do not. They're part of a received aesthetic in astrophotography, and they are sometimes beautiful. But they always indicate some degree of scattered light and signify compromised image contrast. Sometimes people stretch wire, string, or tape across the objectives of otherwise unobstructed telescopes just to produce these effects. This strategem elicits reactions among cognoscenti ranging from admiration to grudging acceptance through bemusement and on toward principled outrage. If, as do I, you own and use a high-end refractor whose maker has gone to great trouble to keep his handiwork from scattering any light (thank you, Roland) intentionally scattering some seems anethema. I should confess: I've done this exactly once. When I needed a photo of NGC 404 in which the small "Not Found" galaxy was immediately distinguishable from the nearby stars Beta Andromedae and HD 6892, I stretched two strips of tape across the dew shield of a 5-inch Astro-Physics refractor so that the stars, but not the galaxy, would be marked by diffraction spikes. Worked well, looked great. Noel Carboni, who develops and distributes a set of Photoshop actions specifically for astrophotographers, has written a sophisitcated and specialized piece of software to mimic these diffraction spikes. The digital analogs (!) are convincing and they can be tailored in any of several ways to produce exactly the appearance you want. And, since it's done with post-processing, you don't have to corrupt any data to get 'em. Take the color shot of the Cygnus starclouds, for instance. See the previous slowblog entry for the original version, or look here for the version with starrier stars:
Cygnus in Hydrogen-alpha
and white light. Since I've learned some tricks about combining data in the course of the previous entry, I've been revisiting some earlier data collections. Last August, I made a series of 75-second exposures of Messier 13, the great globular cluster in Hercules. Mostly they were meant to be trials of focus repeatability and unassisted tracking, but I've combined into a 20-minute exposure and dressed it up using Neil's latest tool:
Messier 13. 16x75s, ISO 800. Hap-Griffin
modified Canon 20D.
November 11. While casting about for some new targets, I looked up others' efforts to image Simeis 147, a huge supenova remnant in Taurus. That brought me to J-P Metsavainio's website, AstroAnarchy, where his spectacular photos make a good case for removing stars from images to permit aggressive processing of DSO's (Deep Sky Objects). And he makes available a set of Photoshop actions to accomplish that removal. I'm looking forward to taking these actions and this technique for a walk. Simeis 147 has been very well recorded using dedicated CCDs (including by J-P Metsavainio). Google it. I'm thinking this object is within reach of (mere) DSLRs under my less than pristine skies. What a world. November 12. So, how effective is this remove-the-stars, process-like-there-is-no-tomorrow, then-put-the-stars-back (RTSPLTINTTPTSB) technique? Very! This is 100 seconds at an effective F5.6 with the 70-200mm. 70mm, no filters, no stacking, Hap Griffin modified Canon 20D:
This is the same photo after applying the RTSPLTINTTPTSB strategy (I used the AstroAnarchy action to accomplish the star removal, and after putting the stars back in the firmament, I used Noel Carboni's StarSpike Pro to dress them up for dinner):
This result is a mite heavy-handed — I just wanted some idea what can be done with this. The word for the week is "promising." What happens if you start with good data? I'm messing with the 200mm F2.0, finding out how deeply I can bury the objective in a dew shield made from black Kydex and flocking paper to prevent dew and control scattered light (the acre of exposed glass calls dew from the driest skies). I'm testing by wrapping tubes made from card stock around the objective and looking for any signs of intrusion in the corners. It's beginning to look like the APS-sized sensors in my Canons (and the even smaller chip in the SBIG ST2000XM) will make complete control of those two issues easy. Take note of that remark and prepare to ridicule me mercilessly.
|
:: top ::
© 2010, David Cortner


