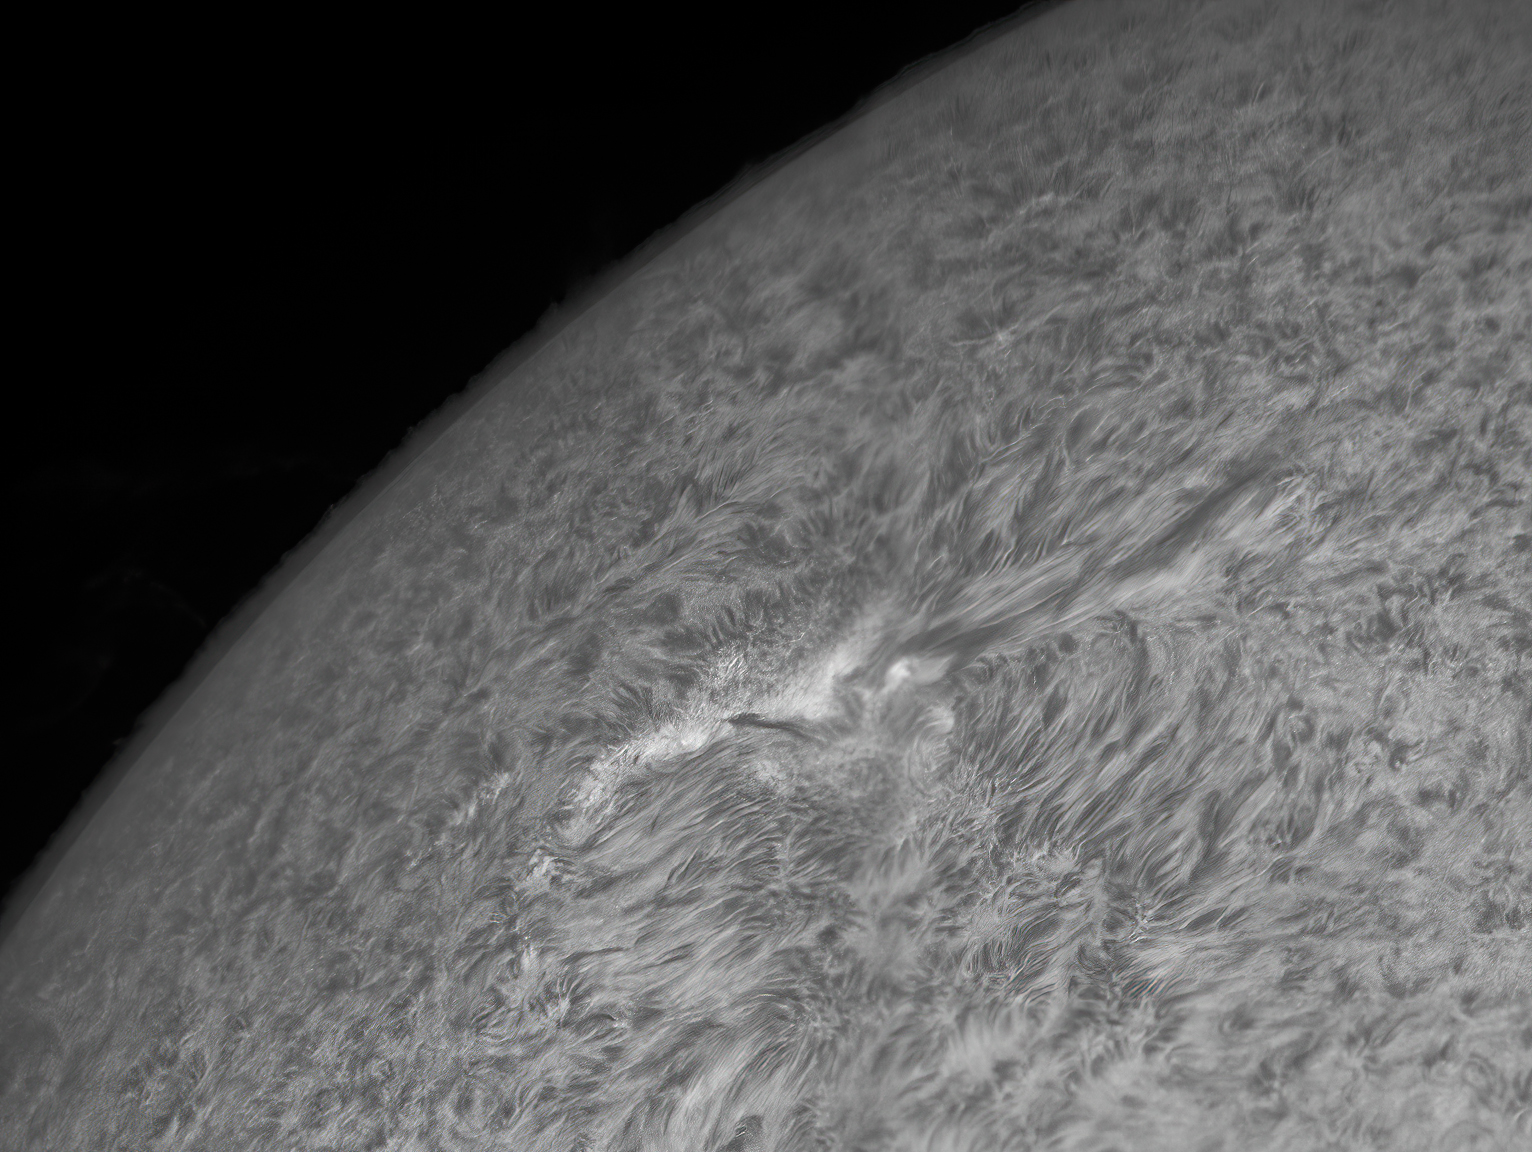
New Active Region.
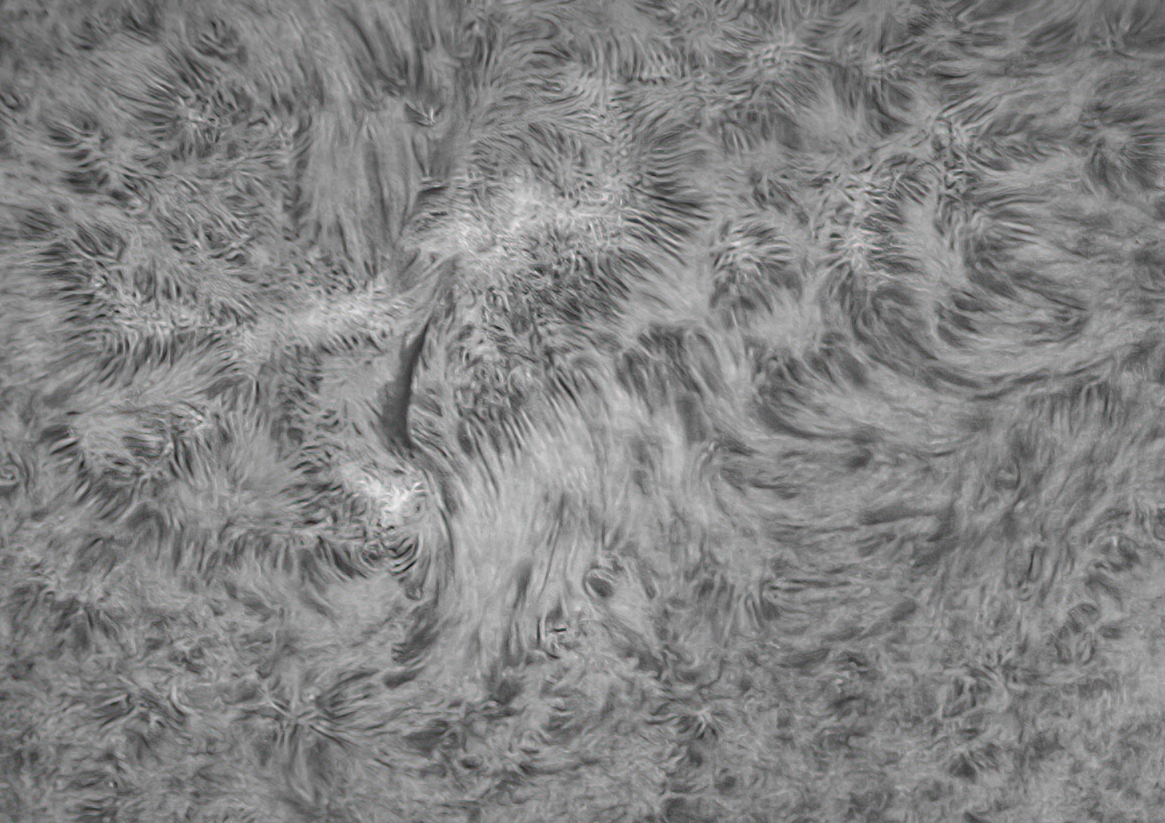
08/09/2021. After a lull, a new active region rotated into view and promptly launched a C-class flare this morning. It's cooling off in the first surface photo below made a few hours later. There's a brand new sunspot in the middle of all that excited hydrogen. Or is there? The sunspot number remains zero. With any luck, we'll get to watch the AR develop over the next 10 days or so.
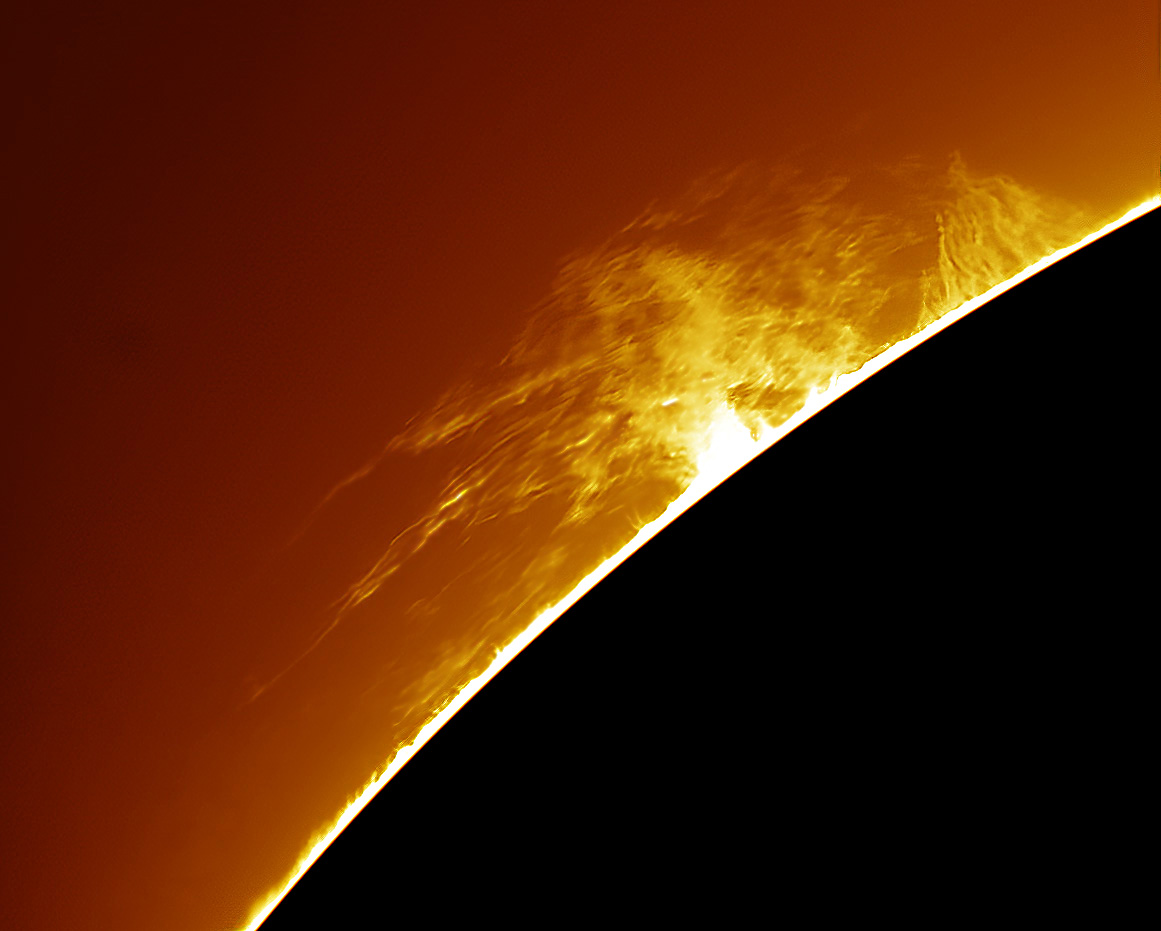
I want to keep all the images of the new AR together, so let's lead with this lovely unrelated prominence over the limb in roughly the same quadrant of the Sun.

All the images on this page are refined from the best 125 frames from 500 frame clips (except the 8/15 image which was the best 20 of 45 frames owing to clouds and 8/16 which is the best 50% of 500 frames owing to lighter clouds). One lesson for the day: for prominences, push the gain and keep the exposures short. The stack will take care of the noise. The prominence detail is consderably sharper in this 1.5ms / very high gain image than in the 10ms / low gain image made immediately prior.
On to the new AR. I intend to shoot this every clear day for as long as it is visible. For drill, for practice, and maybe, with some luck, for a few really nice images. I'm displaying the results on this page at 720-pixels, but they're somewhat bigger and well worth viewing at full rez uisng whatever browser options you have for that.
08/09/2021.
08/10/2021.
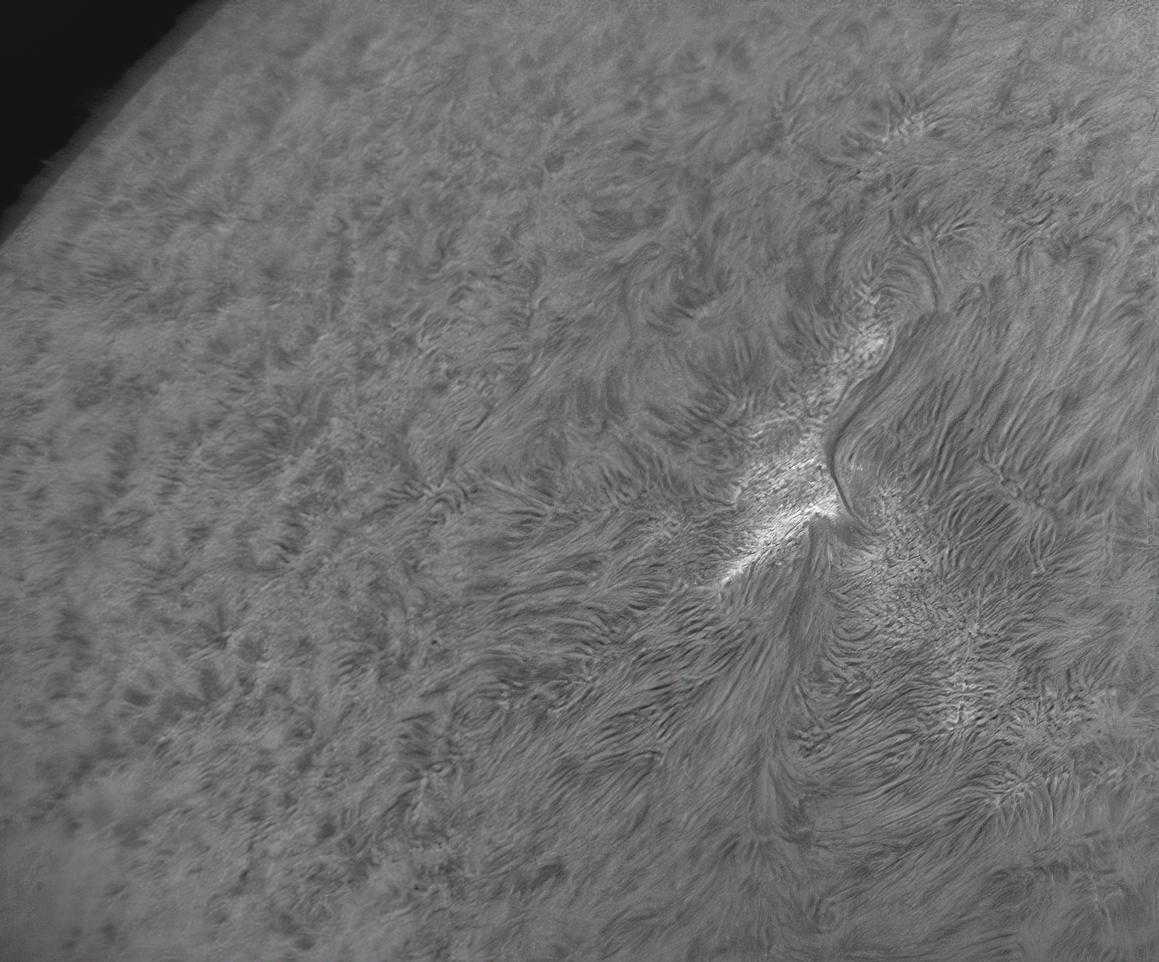
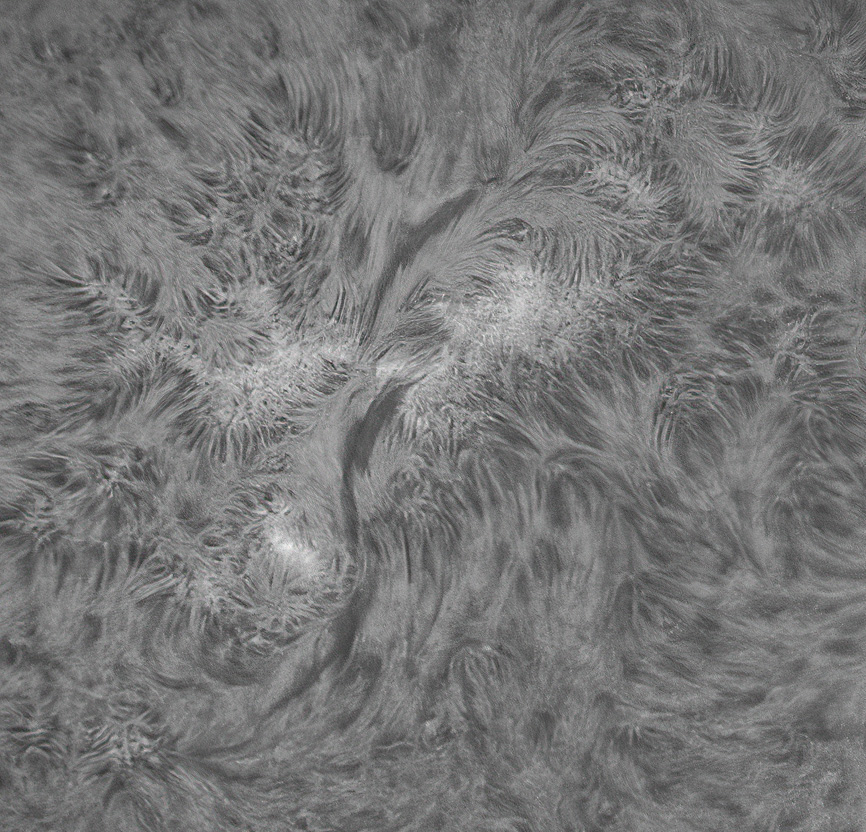
08/11/2021.
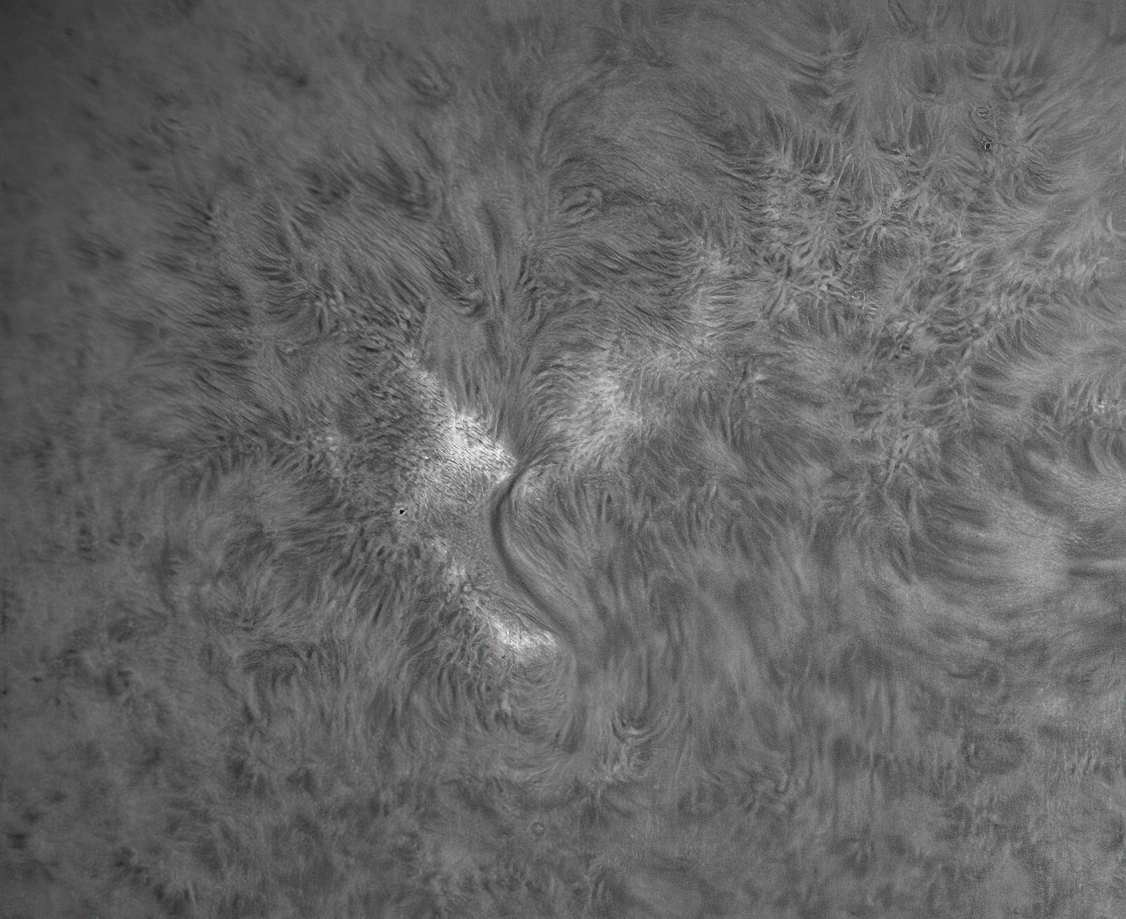
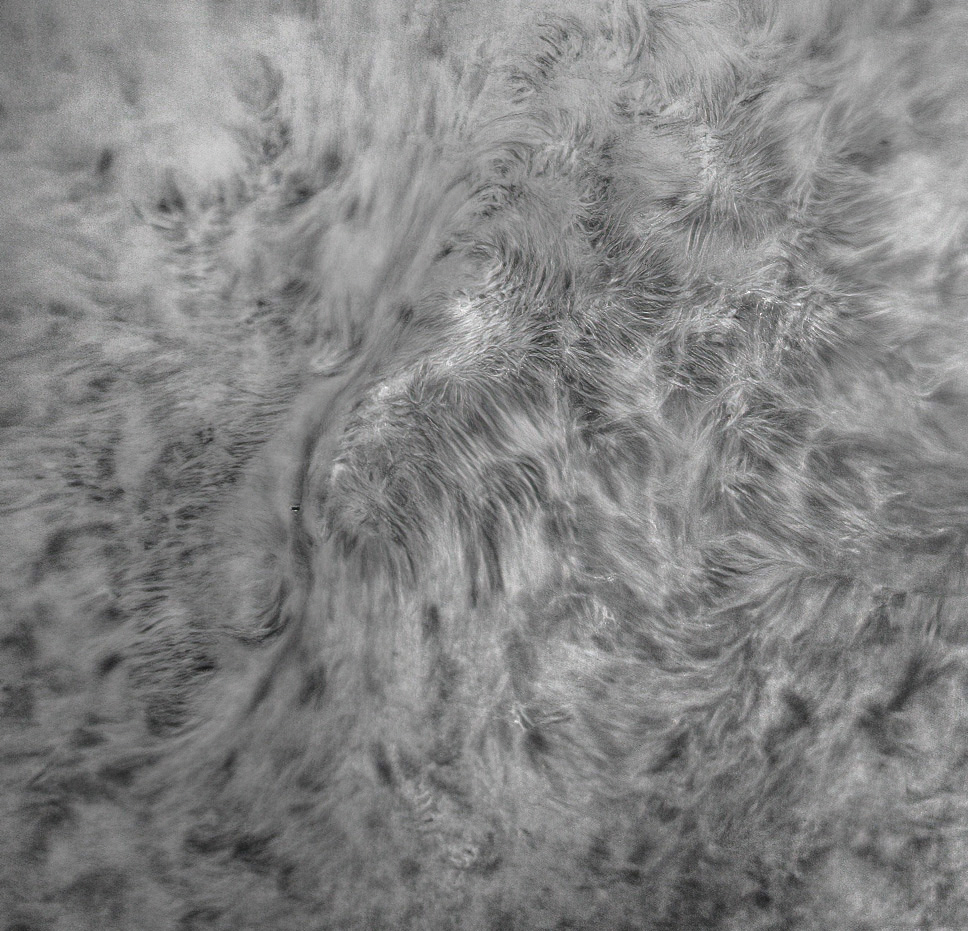
8/12/2021.
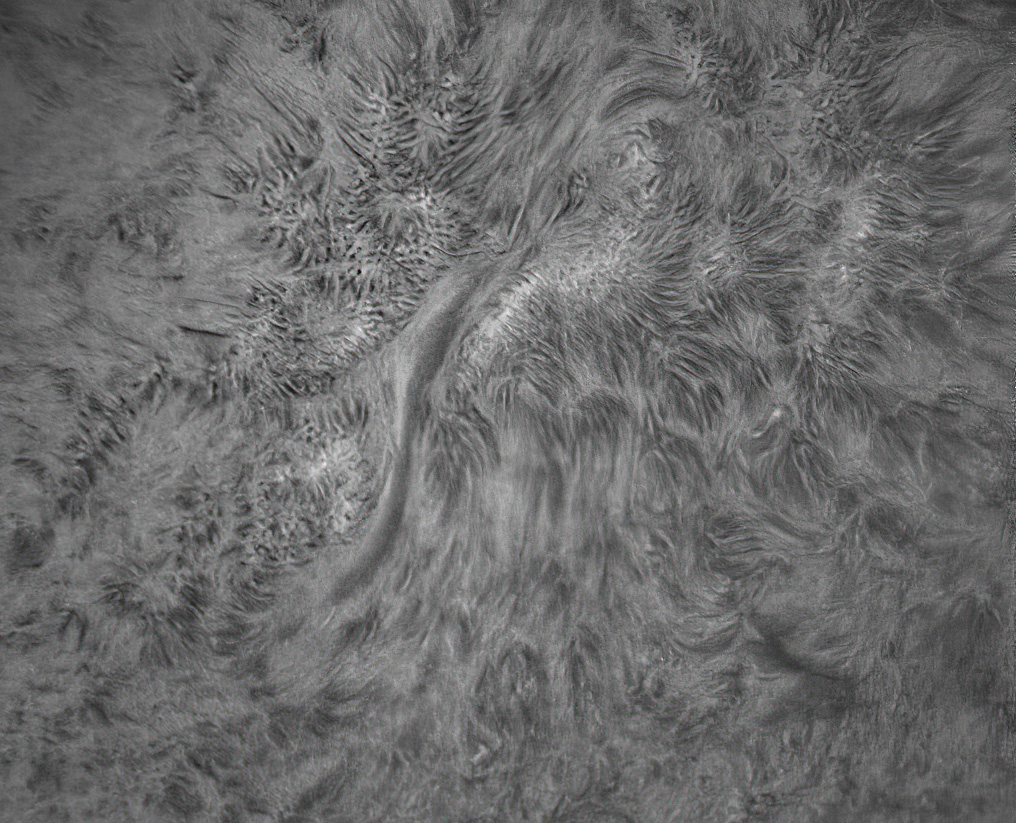
08/13/2021.
8/14/2012.
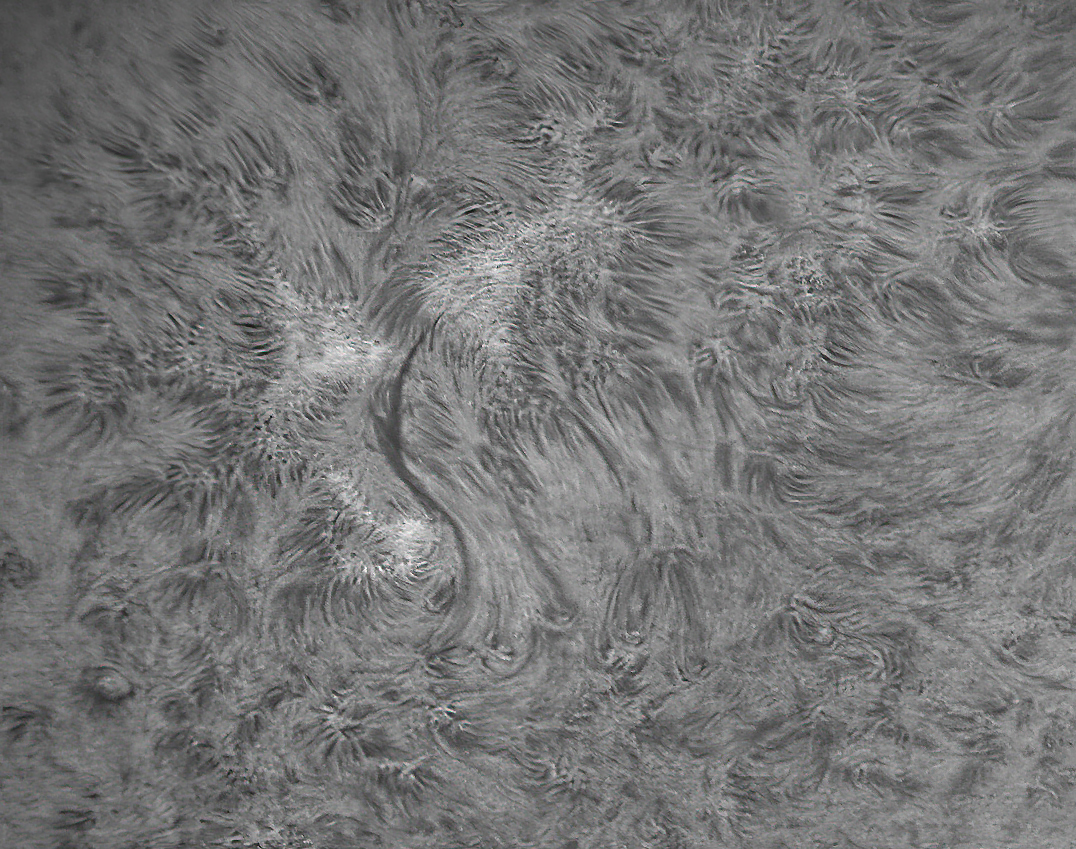
8/15/2021.
8/16/2021.
8/18/2021. Then the remnants of tropical storm Fred came through and shut down sungazing for about 48 hours. When the sky cleared, the active region I've been following was also just a remnant (or perhaps simply gone). I found another (2857? numbering is hard to follow when they come and go so quickly) doing its weak best to look like a bipolar sunspot, but only a ripple or two where "my" active region might have been. Also, there's no sign of activity on or near the approaching limb. That lovely prominence foretold nothing. Seeing was dreadful, and I've yet to pull a presentable image from anything in today's take. Same thing happened on the 19th. I stubborned up and waited for clear skies, got sunburned in the process but no pictures to show for it. The seeing was too bad even for video and AS!3 to defeat; I tossed the files. That's how bad it was. On the 20th, I am officially a cloud-magnet: overcast moved in 30 seconds after I set up. Charging batteries and doing kit maint instead. Maybe later, maybe tomorrow, maybe soon. Maybe not. OK, it was irresistable. Next page, please, this one is too long already.
____________
Random notes about quotidian details. Just skip all this unless you're me and need to remember how I did this and that and what and why and when.
On the 9th, I set up the Voyager AltAz and TMB92SS with a homegrown Vixen to Losmandy D-saddle converter in anticipation of shooting another Moonrise or just doing some eyeball stargazing some fine evening. Lo and behold, the D-saddle couldn't open far enough to admit a D-plate when the V-plate on the back of the D-saddle is locked into the Voyager. This is why we set things up ahead of time. The thumbscrew portion of the bolt that holds the V-plate limited the movement of the jaw of the D-saddle. I chucked the bolt into the lathe and cut away enough metal to allow the D-saddle to open another quarter inch or so. That part went well. But the diameter... I meant to give myself several hundredths of space to spare where the thumbscrew reaches under the moving jaw of the D-plate. I think it will work as it turned out, but the clearance is far less than I intended. Still, if it works, it works, and I can brag about the precision later. [It works! So, ssshhh. I meant to do that.] The slow-motion controls on the Voyager are nice and solid under the 92mm refractor (small and heavy) with just a few degrees of slack which is actually welcome since you can feel the gears begin to engage. It will be good for video. And the free motions are smooth, too. Good deal.
Beginning on the 10th, I routinely borrowed the technique from the best prominence image above for surface imaging, too: high gain, fast exposures. On the 10th, exposures were 547 microseconds. On the 11th, with a bit more smoke in the air from western fires, ~650. I watched the live histogram and adjusted gain and exposure to produce 8-bit highlights in the 220 range while keeping gain close to 50 (I have no idea what the units of gain are in the ASICap application).
On the 11th, the tripod-mounted table broke. I'd drilled too deeply into the high-density PVC cutting board I'm using as a tabletop when I used a Forstner bit to make a hole that permitted a bolt and flange washer to duck below the table-top surface. The thin remaining plastic snapped out while transporting the kit to and from the community lot. I made do by putting the computer on the hood of the car. When I drilled a new, shallower hole leaving more plastic, the bolt wouldn't reach all the way through the tripod top to secure the table-top as before. What to do? Fire up the lathe, of course. From aluminum hex stock, I turned a nut specifically for this application: the threaded hole is in a smaller cylinder that extends up inside the tripod head by about 3/8's of an inch to meet the too-short bolt while the unmachined bit of hex stock provides the pressure surface. It's way simpler than it sounds. Any excuse to play with the lathe. BTW, in soft aluminum, a 7/32 bit cuts too large a pilot hole to tap with 1/4-20 threads. Use the 3/16 bit and be prepared to work a little to get the tap to cut; the resulting threads are deeper and better. You might want to experiment in brass and steel before you need to make something valuable; the 7/32 bit might be just fine in harder metal, or something measured in 64ths might be better all around.
On the 12th, I tried surface photos at both 400 microseconds and 3.5 milliseconds. The air was steadier than usual (it was earlier). And, well, I'm having to look hard to see a difference. The longer exposures might have better tones; but maybe I underexposed the shorter ones a tidge out of aversion to really high gain. It comes to this: when in doubt, use short exposures and high gain, but when the air is steady, lower the gain and extend the exposures. Duh.
On the 14th, with the calmest air so far, I tried exposures ranging from 500 microseconds to 4 milliseconds and gains of 70 and 20 respectively. This time, the shorter, high-gain photo won the day. Huh?
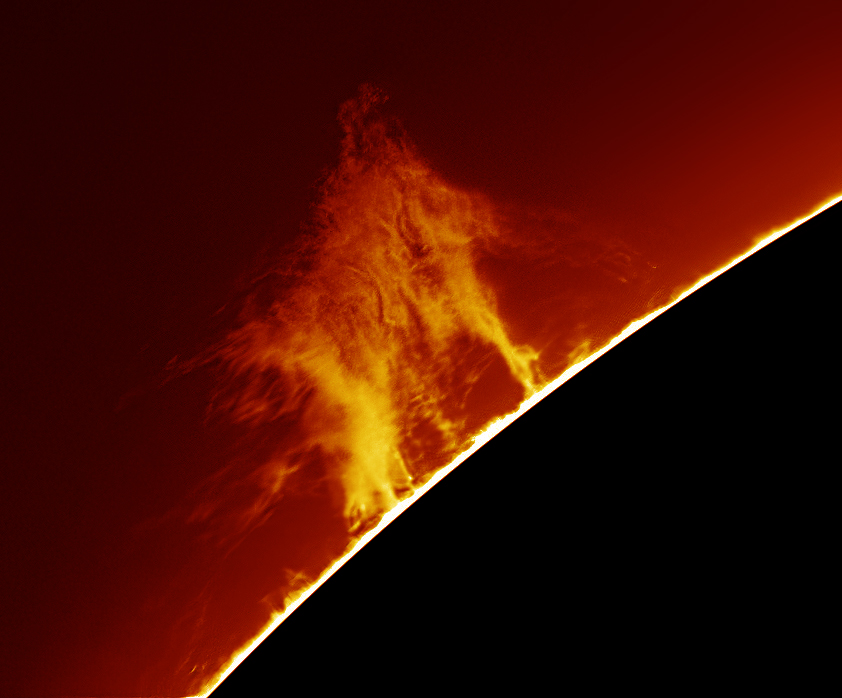
The 15th wasn't supposed to be clear enough for imaging, but a bright sucker hole pulled me to the community lot where I waited for 45 minutes and got about five seconds of reasonably clear air (it was clearer when I left for the lot, and clearer after I got home, but...). Learned to limit frames in AS!3 and allowed AS!3 to use only the first 45 of 250 frames (before heavier clouds blew across the Sun), then stacked only the best 20 of those. These were 9 millisecond exposures at gain 70. Also the battery was depleted from leaving the distrubution box plugged in (was bound to happen sooner or later) so I ran the mount using an extension plug and the utility outlet in the back of the Subaru. Good to know that works. While focusing on the limb and preparing to hunt for the AR, I noted a lot of prominence activity and stuff coming around onto the extreme edge. This bodes well for the next stretch of decent weather.
My ideal aesthetic for the b/w surface photos varies between "platinum print" and "pencil sketch." There are representative images up above that approximate each. But I have no idea what sparks the impression of one or the other. If only there were a tool that would let me examine the histograms and internal features of each image in a systematic way...
The big prominence on the 14th:
And the 16th:
Tropical Storm Fred or its remnants will likely make imaging on the 17th impossible. The 18th had some clear spells, but the seeing was hopeless, even after stacking and refining. Same on the 19th. But the 20th was eventually really good. Next page.