Some (Dis)Assembly Required
09/07/2021. Making the most of what I've got. Somehow, I've never done a systematic examination of how my now-vintage Lunt tilt-tuner works. So, in the interests of knowing what I have and how it can be used to best advantage, let's.
Disassembly. The focuser just unscrews from the telescope's white tube. Standing behind the 'scope, looking skyward, twist the black focuser (everything aft of the white tube, not just the bit with the rack and pinion) counter-clockwise. The threads are reasonably fine; it takes 8 or 9 turns to remove the assembly.

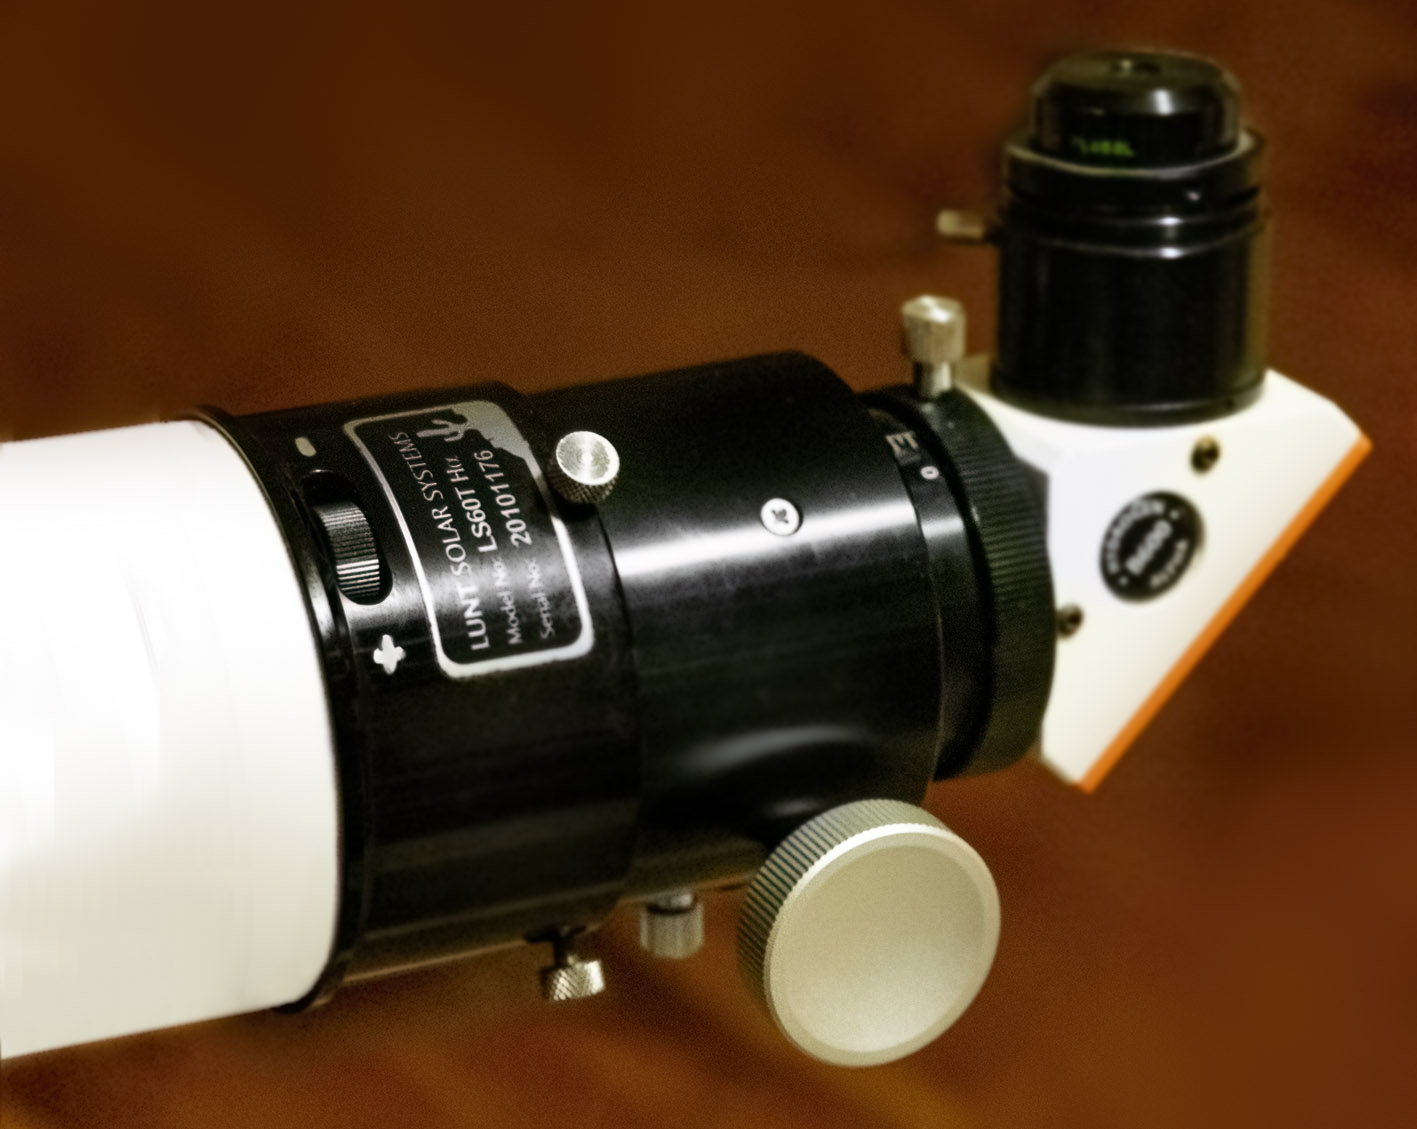
Be careful: when the visible black assembly comes loose, the rest of the narrow-band kit comes away with it. Nothing will fall apart; it's all solidly put together, but the internal tolerances on the etalon are unbelievable. You don't want to be banging anything around. Ease the focuser back from the tube and the critical assembly comes along. (Note that the photos are a little confusing: the Sun is to the left in the picture above, to the right in the ones below; keep an eye on the printed label for orientation. Sorry.)
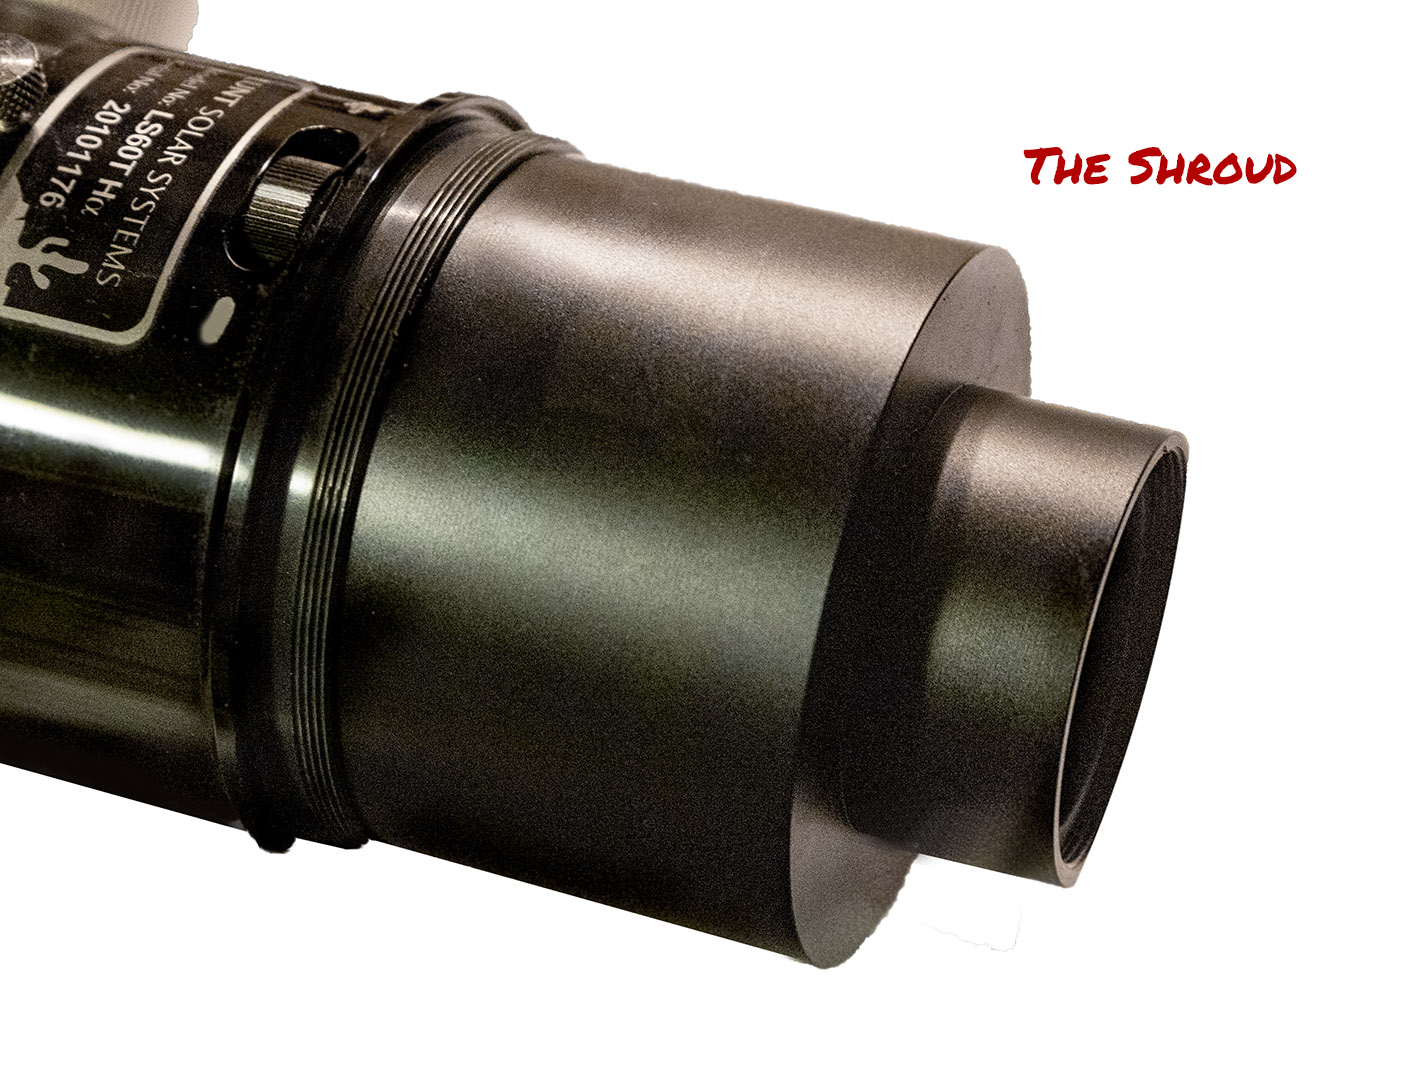
The etalon and the tilt mechanism live under a flat-black cylindrical cover, a metal shroud. At the reduced-diameter sky end is a bit of optics: the energy rejection filter and the negative lens / telecentric / Barlow / whatever-it-is that rejects infrared light and increases the effective focal length of the short-focus Lunt objective by a factor of 3 or 4 to the high F-ratio the etalon expects. I didn't measure anything about that lens or filter, 'cause I have no intention of replacing or messing with it. The glass is slightly loose (you can feel and hear it rattle around just a bit as you move the assembly around). Do not tighten it. This is as it should be for a part that routinely absorbs a good bit of concentrated sunlight and probably feels right at home at a couple of hundred degrees Fahrenheit.

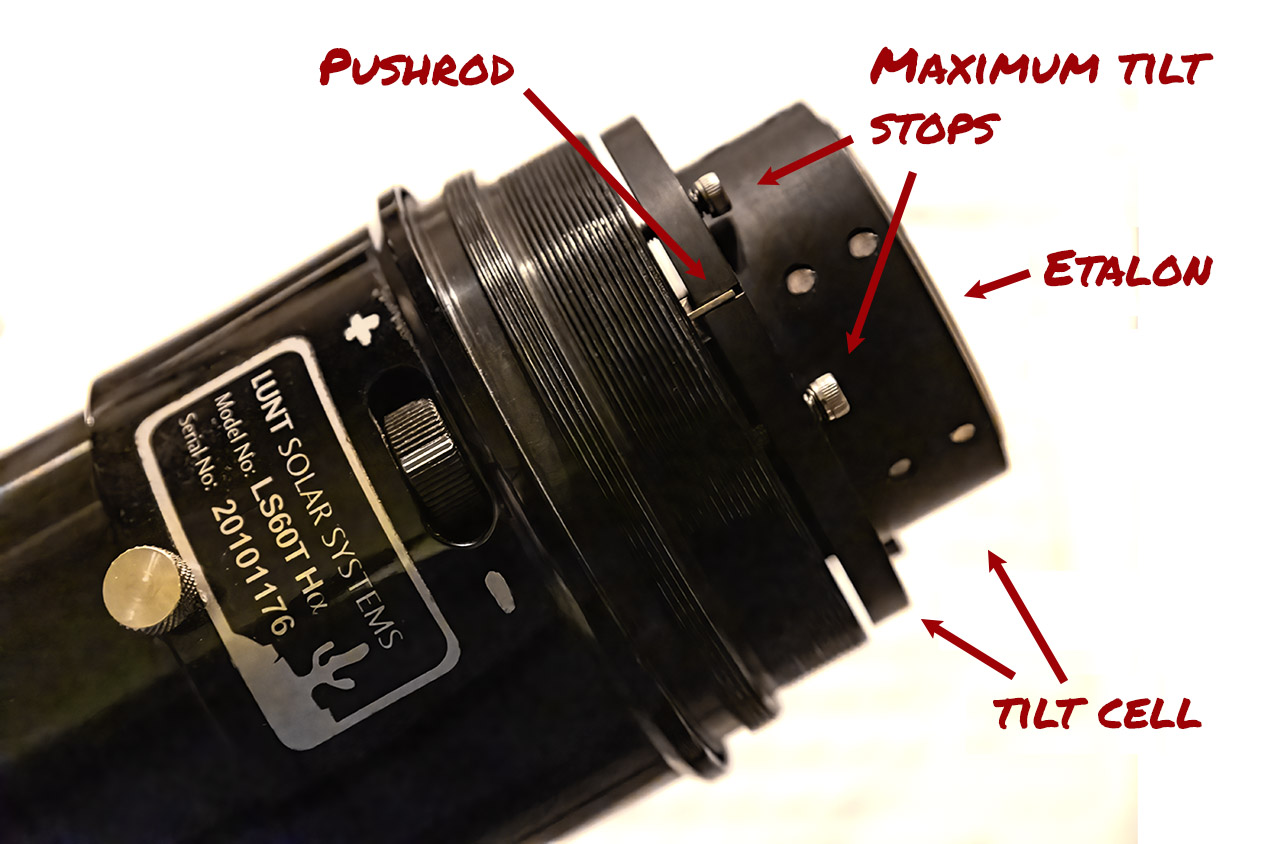
Unscrew the cover. It's one piece. Turn it clockwise (I think; depends on which way you're looking at it; whichever way it moves). The threads are quite fine. It'll take 13 or 14 turns to remove it. Again, as it comes off, be careful: you're about to behold the shimmering heart of the quartz etalon, so be respectful. When the cover comes off, it leaves the etalon and the tilt mechanism exposed and still solidly mounted. I don't know how the optics and mechanics are mounted because IDNMWI (I Did Not Mess With It).
Now, look at the tilt mechanism. The black dial exposed on the outside of the tube controls the tilt; a threaded rod, probably brass, runs through it (you can't see the threaded bit, but you can see the end of the rod where it connects with the cell that holds the etalon; it's in there). I turned that knob to retract the pushrod all the way until it stopped. It's a firm, solid stop. At that point, I drew a white line on the knob in the center of its "window" of operation so I could count rotations. I put a "-" sign beside the window toward which I had been turning the dial and a "+" sign at the other end. Full "-" is my unambiguous zero point; the rod is fully retracted; the tilt mechanism is at one of its end stops. Rotating the knob toward the "+" increases tilt; rotating it toward the "-" decreases tilt. Mostly. There is some oddness at the "-" end of things. Keep reading.

With the knob stopped in the full "-" position, the etalon is very slightly tilted toward the push rod. That is not particularly useful to you, qua solar observer. It takes 3.3 turns of the knob toward the "+" mark before the etalon begins to move (at least in my example). You might or might not feel some slight resistance at that point. A safe-cracker would; you or me, probably not. After a total of 4-4.3 turns, the etalon appears to be dead flat, untilted, normal to incoming light. I'd like to call that the zero point, but there's no tactile indication, no way to set it confidently in the field. As you keep turning the knob toward the "+", the etalon's tilt increases steadily to a maximum of just over 2mm away from the pushrod (that's just under two degrees of tilt, if my back of the envelope calculations are close, and that corresponds to an increase in the optical path between the reflective layers in the filter of 3.5% which is apparently enough to insure that somewhere in that range the hydrogen-alpha wavelength enjoys maximal constructive interference). Maximum tilt is reached about 4.5 turns beyond the point at which the etalon is dead flat, so you can see that a small turn of the knob is a really small change in the path-length. I'm not going to worry about the "about"s and the estimated fractional turns, because your example probably differs slightly from mine. I bet no two etalons are exactly alike. I don't know how much Lunt adjusts each 'scope to accommodate their individuality, but I bet this is a case of "if you can't build them exactly alike, just make sure they can be adjusted to work." And they do.
Anyway: there's a fairly hard stop at maximum tilt, and you don't need to worry about things coming apart. Two socket head screws encircled by springs provide a solid stop. (These were not exactly matched when I first opened my 'scope up, so I very gingerly turned one of them until they do match, the better to get a clean, reliable stop at max tilt. Beyond that IDNMWI.)
Then I put everything back together. I turned the adjustment dial to its maximum tilt and then backed it off two full turns. That leaves it in the middle of its effective range; either way I turn the knob, I ought to see the effect on the filtration.
There. I've disassembled mine so you don't have to disassemble yours. I suggest you don't.