Applied Lessons
09/09/2021. Putting what I learned yesteday to work today, I dialed in more aggressive filtration. The field was clearly not evenly illuminated and had some dust spots, so I put Firecapture through its paces rather than ASICap. Firecapture has an excellent flatfield feature.
I used Firecapture back at the start of my solar-imaging fetish, but gave it up because it tended to freeze up while capturing clips, especially those that would not fit entirely in memory which was most of them back then. The s/w has improved; computers have improved; I had a need for some of its new features; and some YouTube demos inspired me to give it a second chance. In particular, its ability to take an out-of-focus flat and apply it to live video just like that is a game-changer. Flat-fielding lets me ignore a lot of unevenness across the field and even deals very effectively with the residual Newton's Rings that turn up now and then in the corners of my frames.
The con first: the live view on the computer screen is not as compelling as the contrast-enhanced version provided by ASICap. Enabling Gamma correction and maxing it out goes a long way, but the view on the screen just doesn't blow me away. I think it's harder to focus, but that may just take practice. The nice thing is, what you bring home in the files is considerably better than what you see on the screen.
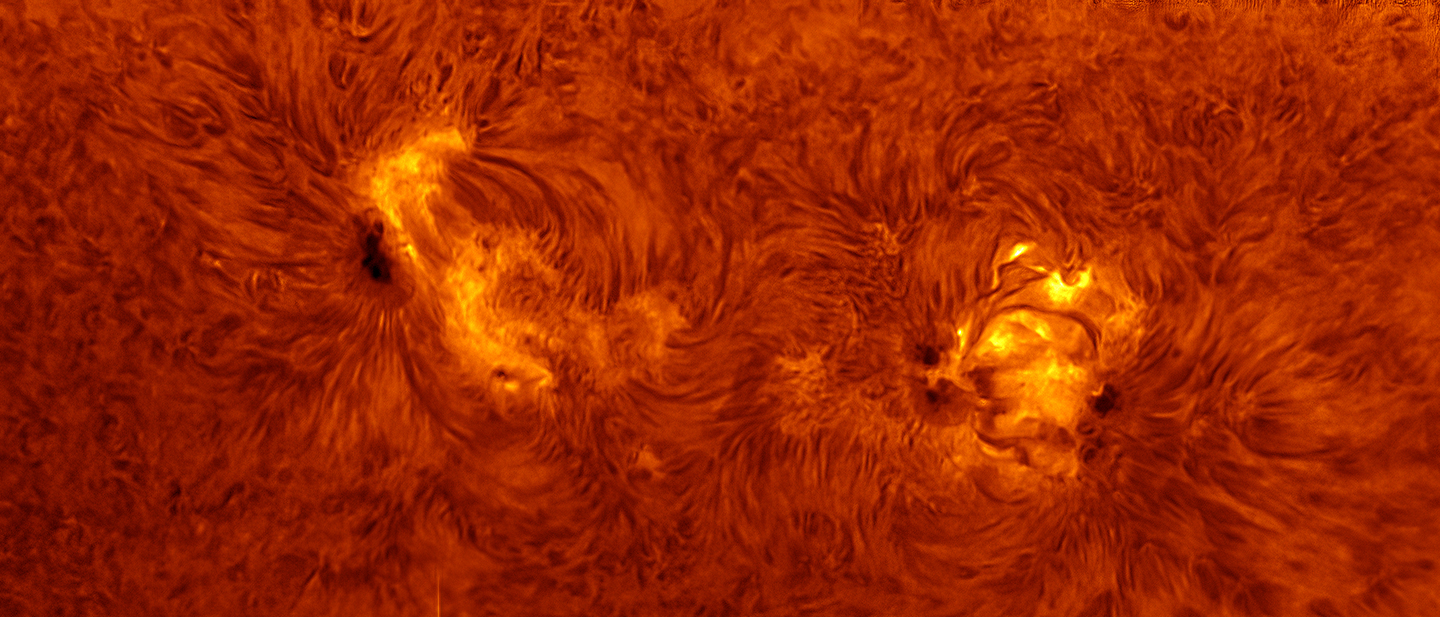
Firecapture offers many more options, and they're easier to access (fewer dialog boxes to expand and close and scroll to find). Can you tell I'm impressed with the flat-fielding feature? It's quick, intuitive and just plain works. Flat frames get me the wider, more even filtration I thought about using a Quark to get. The more evenly illuminated field makes assembling mosaics a snap:

Best 125 of 1,000 frames. Times two.
Some notes on first use. Most on-line advice about Firecapture urges that gamma be enabled for focusing and turned off for capture. There may be theoretic and practical reasons to turn it off, but I enabled gamma today, maxed it out, and captured data that way.
I did take the advice to set a reasonable shutter speed (I picked 1 ms) and adjust gain to produce a histogram peaked around 70-80% with no clipping. Something just over 1 ms with gain 50 worked today.
The s/w warns that ASI cameras may need to have USB priority turned down. The default appears to be 40% with "high-speed mode" unchecked. Those settings resulted in data jams of the sort I used to see. High speed mode on/off didn't matter. [9/12: high speed on helps] A 500-frame clip would usually stall with 420 frames to go, then maybe proceed to 360 and stall again, etc. The solution had two parts: run the USB setting on up to 65 or 70 or 80 percent [60 is good], and set FPS explicitly (you can do these things by clicking "more" in the leftside "Capture" dialog box; if the options are not under Capture, they're not far away; I'm still learning this one). When I set FPS to something the camera can do or almost do, the problem went away. I think I set it to 15 and actually got 13.7 or thereabouts. That's with an old USB 2.0 camera attached to a USB 3.0 port. Life may be very different with a faster sensor. News on that to follow soon. Oh, and I didn't look to see if Firecapture can use my RAMdrive; ASIcap balks. [No, Firecapture can't see the RAMdrive either. Also, unplug any other USB devices, at least when using a USB 2 camera.]
I discovered that rotating the tilted camera behind the blocking filter had a huge effect on the evenness of illumination. How did I not already know this? I would be tempted to put the X:Y offset stage from one of my guide telescopes back there and experiment, but I just don't want to fight the unavoidable spacing issues unless I must.
In Firecapture, I shot defocussed flats (15 averaged frames) immediately before several clips. Do them that way and the flat will deal even with residual Newton's Rings. Aim for a 50-75% histogram. Don't change Gamma between taking the flat and capturing data.
The ASI1600MM with a 1280x900 ROI captured frames at 50 fps. But I saw no detail at all in those images. Truth to tell, I don't like the idea of using my deep-sky camera like this, swapping it around and inviting dust into everything and just generally exposing it to all the bumps and misadventures of hauling it around. Speed would be good when dodging clouds and dealing with imperfect polar alignment, and it would be nice to pick seconds of good seeing rather than shooting blind and hoping for the best over an extended period. Also, we're getting very close to resolutions showing things that move on the Sun (see that flare a few days back which developed while I watched). With all that in mind, an ASI178MM is on its way from AgenaAstro. It's discounted at the moment, but even if a new! improved! model is about to supercede it, the 178 will be a sweet upgrade. It will take finer-grained data much faster than either the ASI120 or the ASI1600 does. Its sensor is intermediate in size between those two but closer to the 120's. Its 2.8 micron pixels may oversample my F13, 1150mm focal length solar 'scope, but over- is better than under-sampling. The tiny pixels will be well-suited to the TMB92 and for the Lunt without the Frankenscope objective.
File under "I'll believe it when I see it," but here are the claimed frame rates for the little camera that is said to can (10 bit ADC / 14-bit):
3096x2080 :: 60 fps / 30 fps
2560x2048 :: 62 fps / 31 fps
2048x1080 :: 116 fps / 58 fps
1600x1200 :: ??
1280x960 :: 130 fps / 65 fps
800x600 :: 204.7 fps / 102.3 fps
640x480 :: 253.1 fps / 126.5 fps
320x240 :: 479.7 fps / 239.8 fps
1600 x 1200 with 2.4 micron pixels would cover the same field of view as the fewer and larger pixels of the ASI120MM, and the ASI178MM ought to deliver them almost ten times as fast. [Believe it! All those numbers are in the ballpark when connected to the CF-31's USB 3.0 port.] It's enough to inspire planetary and moongazing ambitions; I've already identified an ISS lunar transit in the coming weeks (no longer predicted following an orbital adjustment, dang). Astrobin includes some amazing deep-sky photos with this camera (and its cooled brother), so the little TMB and the 10-inch reflectors will probably get to play with it, too (oh hell yes, look at this: https://www.astrobin.com/405100/E/ and at this https://www.youtube.com/watch?v=rg_y2Ap1hI4). The EFW will work nicely with the 178MM. Since it will sample such a small area at the center of the image circle, some previously marginal glass may become useful, and good glass may be spectacular. [Note, you can and should set Firecapture to center ROIs, otherwise it will uise the top left corner of the full frame as 0,0; not sure if manually defining an ROI overrides this setting.] This should be fun.
09/10/2021. Now, about this TopazAI thing. The ClearSky forecast for today promised excellent 5/5 seeing, and I set up at the community lot to take advantage of it. The difference between what I've been getting and what I got today was not large. In fact, I saw no difference on the screen in either fine detail or stability. The result was a little disappointing as far as sharpness went.
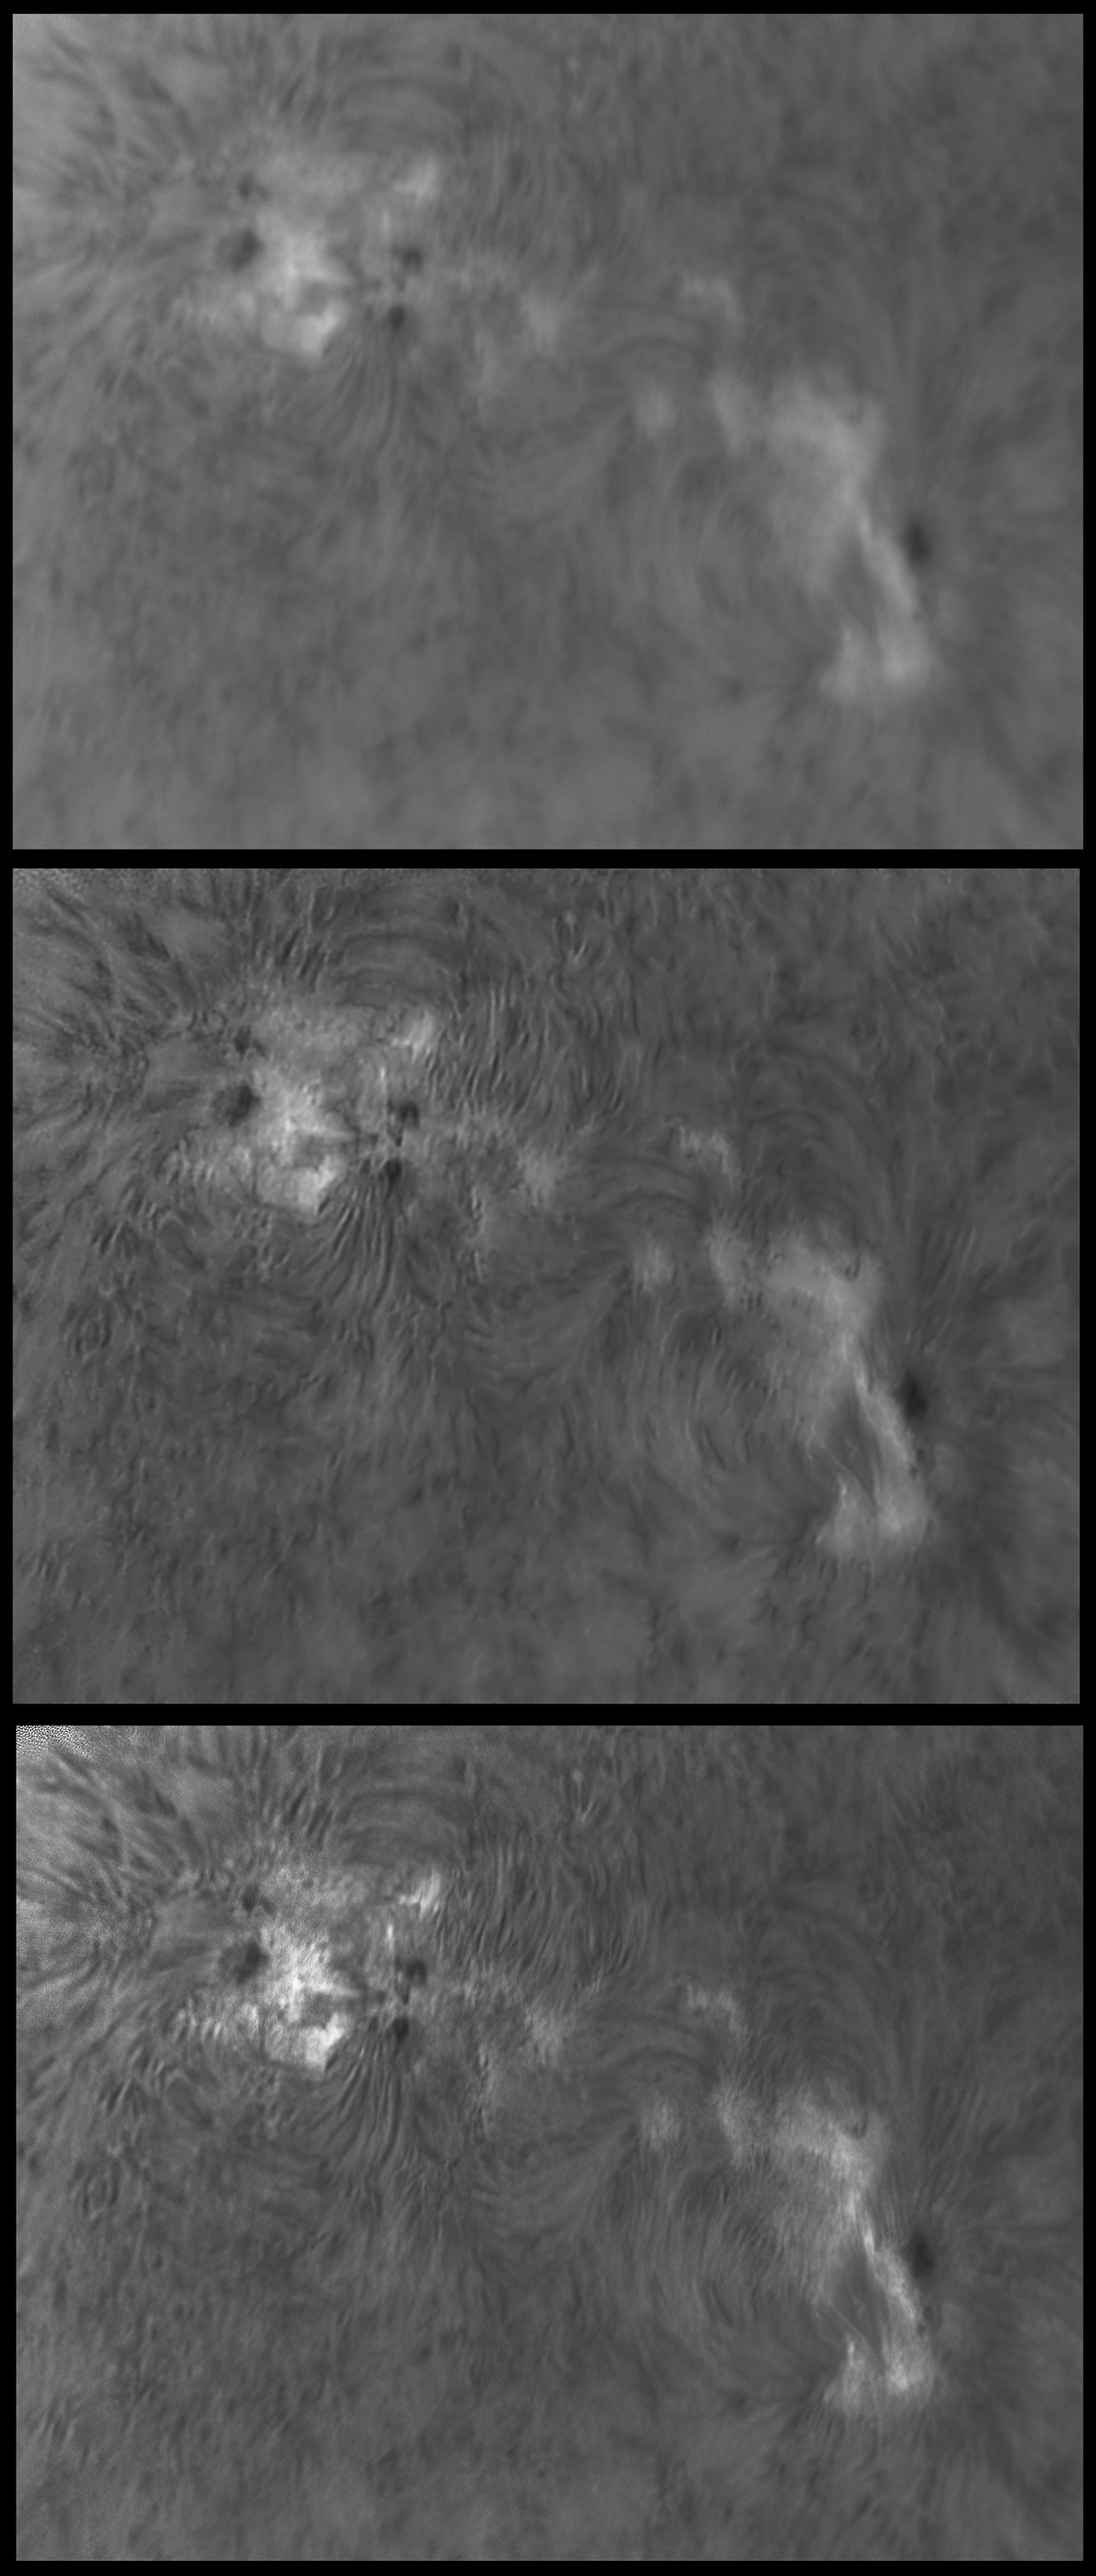
I threw a lot of tools at the data, learned some stuff, but ended up with nothing in the way of trophies. The day's take gave me lots of chances to compare Topaz and PixInsight head to head. Here's a long, tall image in a black frame. Details follow.

The top image is ASI120MM data refined in Autostakkert!3. The image is a stack of the best 125 of 1,000 AVI frames (Firecapture 2.6, 1.3ms exposures, gain 50, gamma 100, using a defocussed flat). In stacking I drizzled 1.5x to have enough pixels to play with. You can view this image at roughly twice the displayed size, and the original stack is almost twice again as large and 16 bits.
The second image is PixInsight's take on the data above. I used these steps: TGNoise (100 iterations, defaults); Dynamic Background Expansion (division, twice) to remove gradients left and bottom; Deconvolution (Regularized L-R, 10 iterations, size 3 shape 2, twice, followed by 4 iterations at size 2 shape 1.5 or something very like that).
The third image is the product of the TopazAI plug-in's blur correction option with sharpening set to 50 and noise reduction about 40.
I think I see some ringing artifacts in both the processed images, but they're pretty much the same in each. A few minutes of Photoshop polishing would match up the highlights. From today's messing about, I don't see obvious reasons to hold TopazAI suspect as long as its parms are kept within reason.
[09/20/2021: Check out the next page for good tries using Registax's wavelets routines. And ImPPG. Best yet?]