Micrometers under the stars
When a guy comes in from his telescope, micrometer in hand, he's probably up to something.
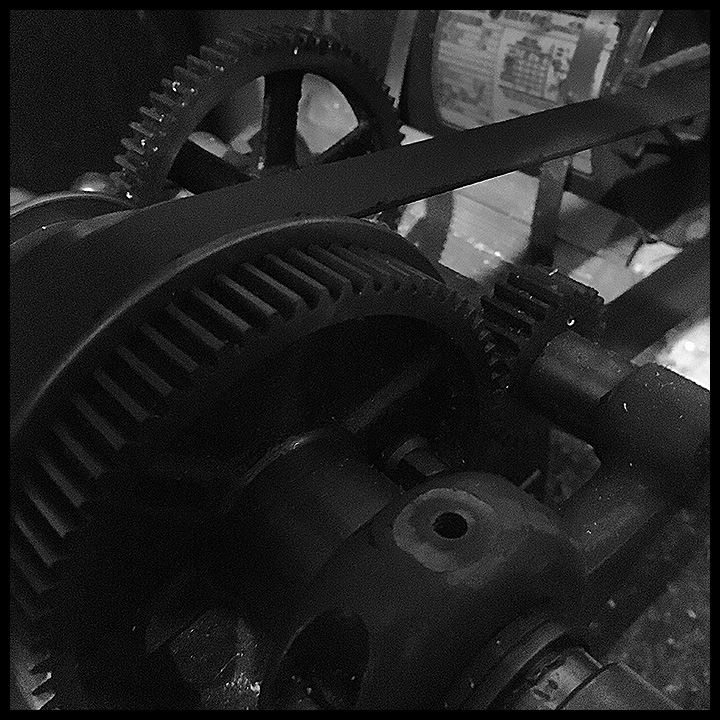
11/07/2016. The outer diameter of the 2-inch adapter on the Feathertouch endcap is 65mm. So if I took some round aluminum stock with a 2-inch inside diameter and 3-inch outside diameter and sliced a ring from it, there'd be plenty of metal there to whittle on until it slid easily over the endcap. The three thumbscrews that clamp down on 2-inch accessories would lock it in place. It could be marked with a degree scale to make finding guidestars and returning cameras to approximately the same orientation simple. Right? You could annotate either the face of the ring or the rim or both. You could try things out without marring or otherwise compromising a fancy focuser, change scales at will, engrave something permanent once happy with the way it works. If you wanted to get really fancy, it would be the start of a two-piece registration kit that would make replacing the camera an exact science. First things first. I predict that this will start out noisy, then get tedious, and finally prove useful.
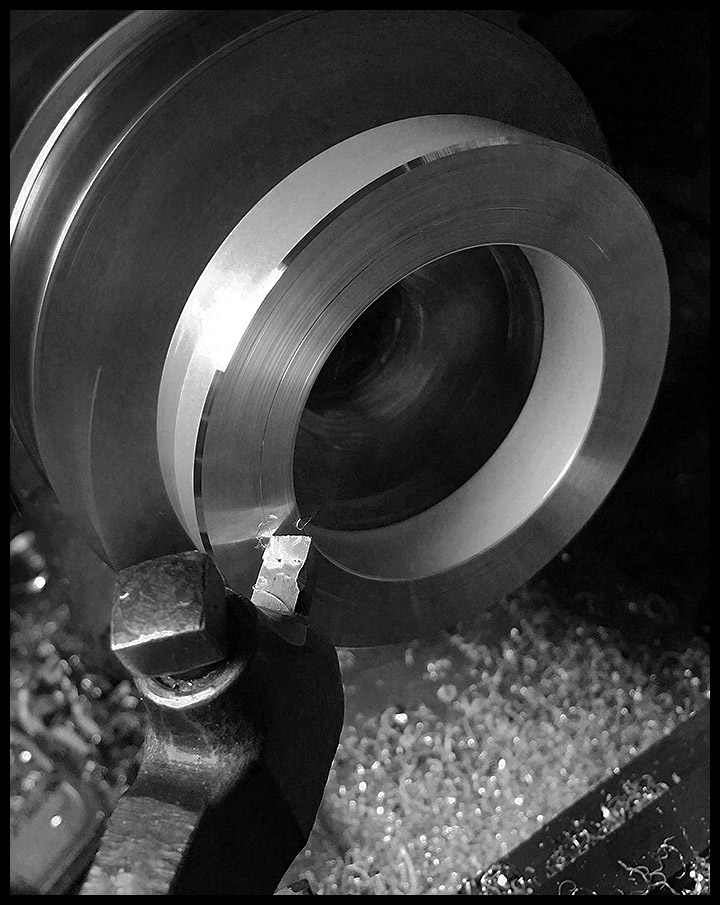
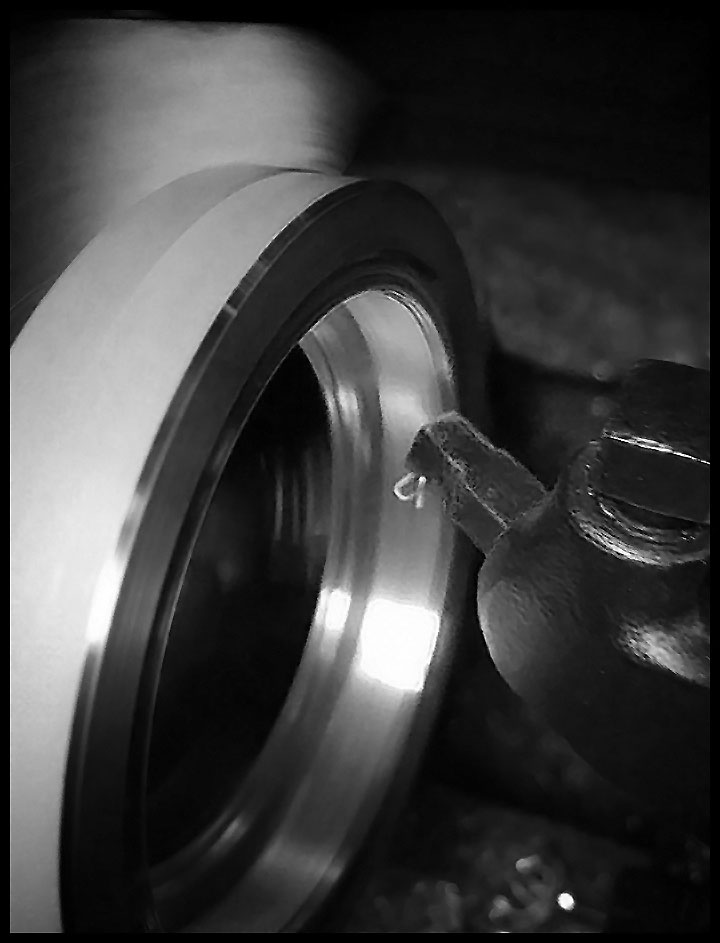
Slice about 1.5cm from a foot-long piece of round aluminum stock (that's the loud part), then face both sides of the ring bringing it down to about 12mm. Reverse the tool to enlarge the inside diameter. Sneak up on the 65mm I.D. target. When close, take it out to the 'scope after removing each little bit until it slips on without fuss or rattle. Then drill three holes around the perimeter. Measure those ten times, drill once. That's the tedious part. Then ream one of the holes out to get the spacing right 'cause you still screwed up. Same ole same ole.
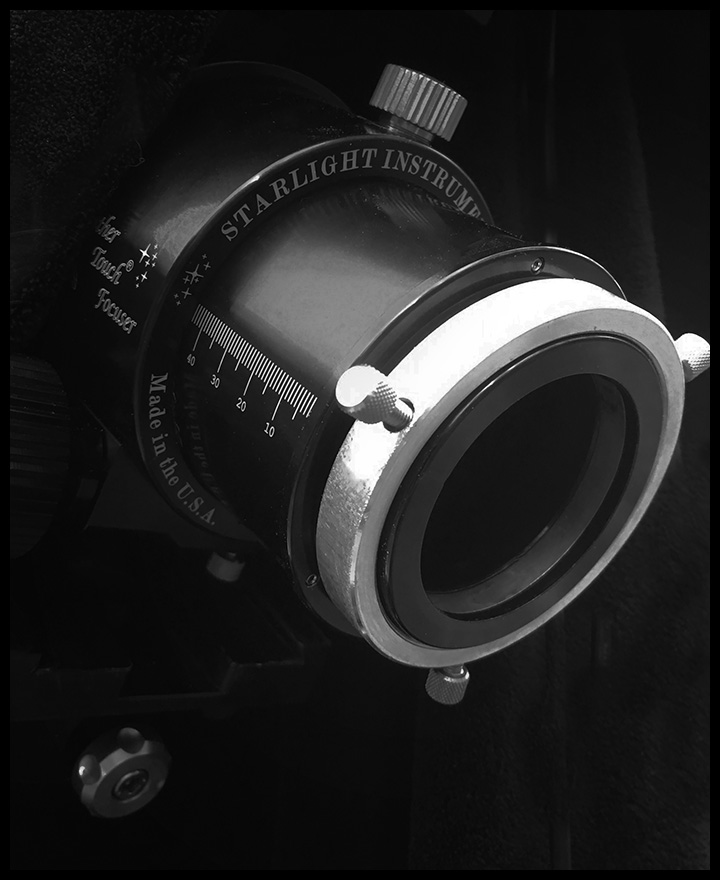
Now THREE clear nights in a row. I've got the orientation ring sorted out, I think. All I needed to do was mark two spots 90 degrees apart, one close to E/W on the chip, the other close to N/S. Save two photos and the guide-chip images. Check Guide until they make sense, decide between standardizing on inverted or uninverted charts. Then pencil in the degrees around the rim of the ring and mark every 30 degrees or so. Change your mind? Erase, sand, polish, or even chuck it a lathe and start again. Voila!
First I shot NGC 6960 in H-a and O-iii using whatever guide stars turned up (I was in a hurry and lucked out).
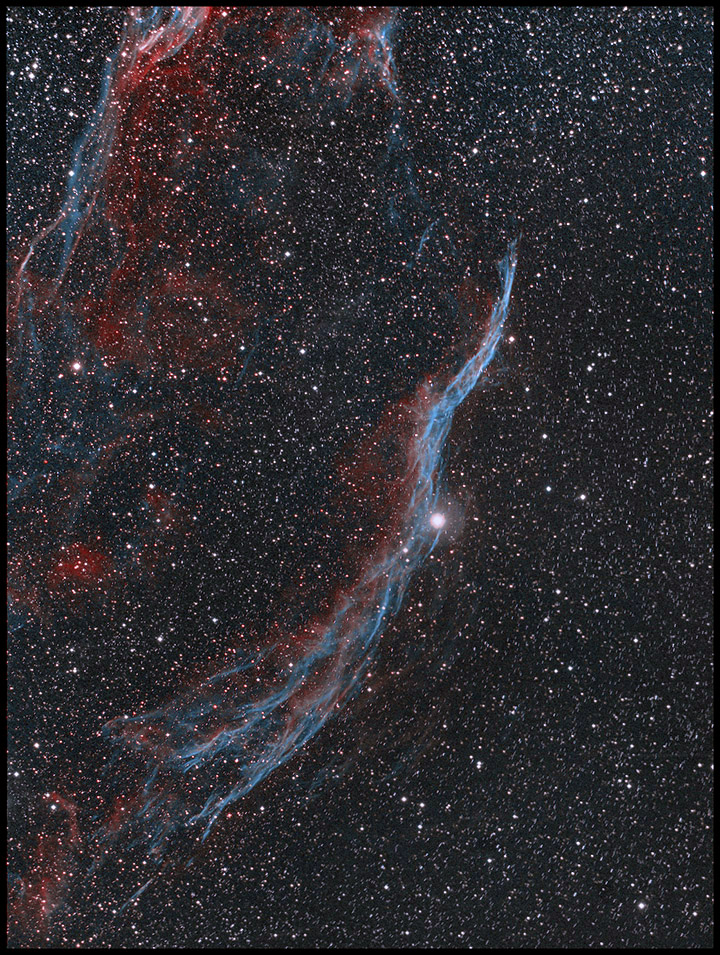
NGC 6960
4x900s H-a + 4x900s Oiii (2h 00m)
TMB92SS @ F4.4, ST2000XM CCD
After that field hit the treetops, I tried IC 1805 using the new orientation ring to find both composition and guidestars. So far, so good.
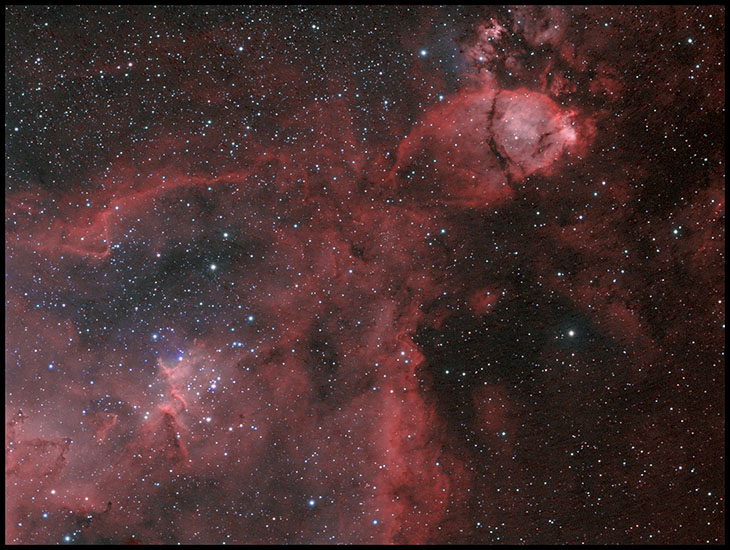
IC 1805
8x900s H-a, 8x900s Oiii. H-a for luminance. (4h 00m)
TMB92SS @ F4.4, ST2000XM CCD
My deep-sky photos are made with a variety of sensors and optics. Deepest images usually come from a SBIG ST2000XM CCD behind a 10-inch Astro-Tech Ritchey-Chretien carried on an Astro-Physics Mach1GTO. The CCD is equipped with a CFW-10 loaded with Baader wide- and narrow-band filters. Camera control and guiding are handled by Maxim DL 5.12. A Canon 6D and a modded 50D find themselves mounted behind an Orion 10" F4 Newtonian or a 92mm Thomas Back refractor or a tiny but mighty AT65EDQ refractor, sometimes with Backyard EOS in control and PHD Guide keeping things on target. Really widefield photos are often made using the 6D and various camera lenses and an iOptron Skytracker mount. PixInsight does most of the heavy lifting in post-processing — alignment, stacking, gradient removal, noise-reduction, transfer function modification, color calibration, and deconvolution. Photoshop along with Focus Magic and a handful of other plugins get their licks in, too, especially when polishing for the web.
:: top ::