Scorpius & Ophiuchus.
2021/06/16.
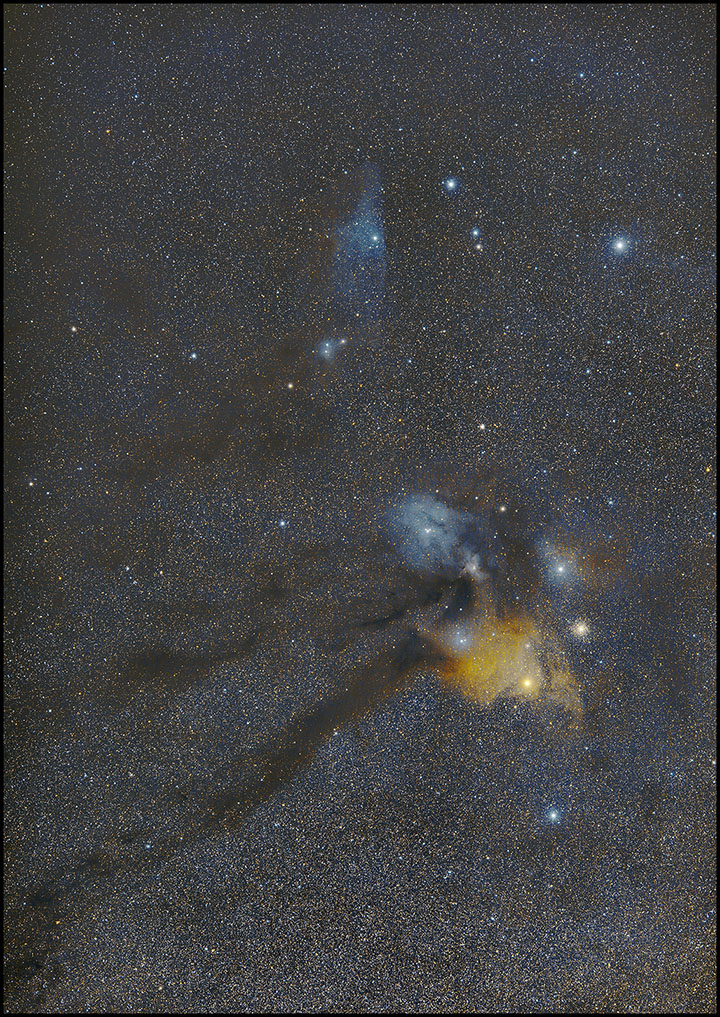
The Moon was a little big for this but it's always something. The weather was all but guaranteed to stay good, so I tried anyway. I used Photo Ephemeris to find an area in the neighborhood with a chance to see far enough south. The NE corner of the parking area at the community lot looked promising, and it worked. I got there a few minutes after midnight, set up and was imaging without problems in 10-15 minutes. I took data for a little over an hour, from the time the field cleared the tall pines in the south until those in the southwest began to encroach: 164 frames in all, 20- and 30-second exposures at F2.2 and F2.0 with the Sigma 105 and Canon R6 at ISO 1600 on the Meade LXD-55. Polar alignment is not at all demanding when using such short focal lengths and short exposures: I set the polar axis's elevation using an iPhone and a tool designed to find roof pitches (adjust the mount until the "pitch" of the polar axis matches your latitude). I lined up on unseen Polaris by guessing its direction relative to the stars that I could see. Nor were the skies especially promising. Even after the moon went down, I could just barely see the Milky Way and only because I knew where to look.
I started at F2.2 and 20 seconds (which produced a near centered histogram), and after moonset, I opened the lens a tidge and extended the subs to 30s. That lens is sharp at F1.4, and ISO 1600 is slumming for the R6, so there's a lot more to do under really dark skies. Call this image a down payment. (I don't get to this field very often. I visited from Doughton Park several years ago with a 180mm Nikkor on the 6D, and I took aim at Antares and its immediate environs with a 10-inch reflector from Rodeo last year.)
Here are a few highlights cropped from the full frame and further polished.
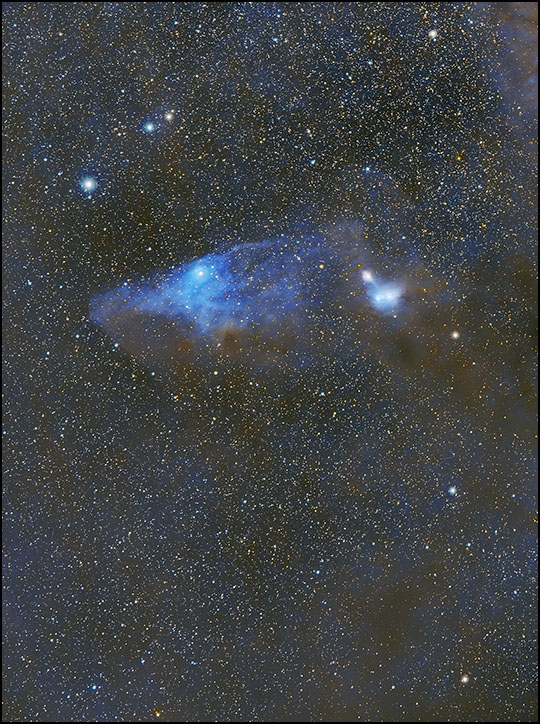
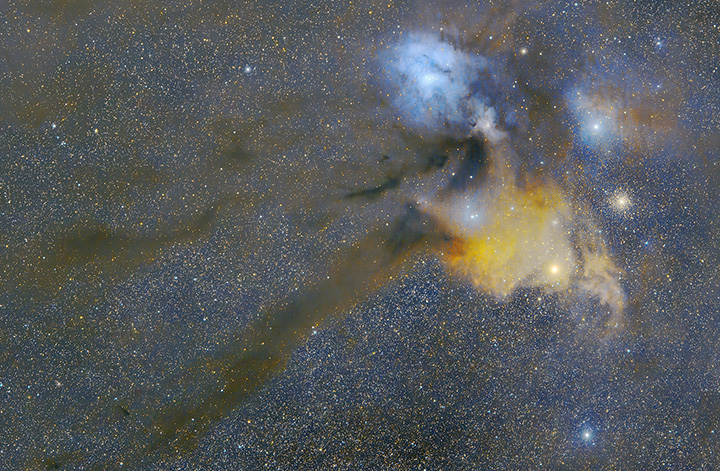
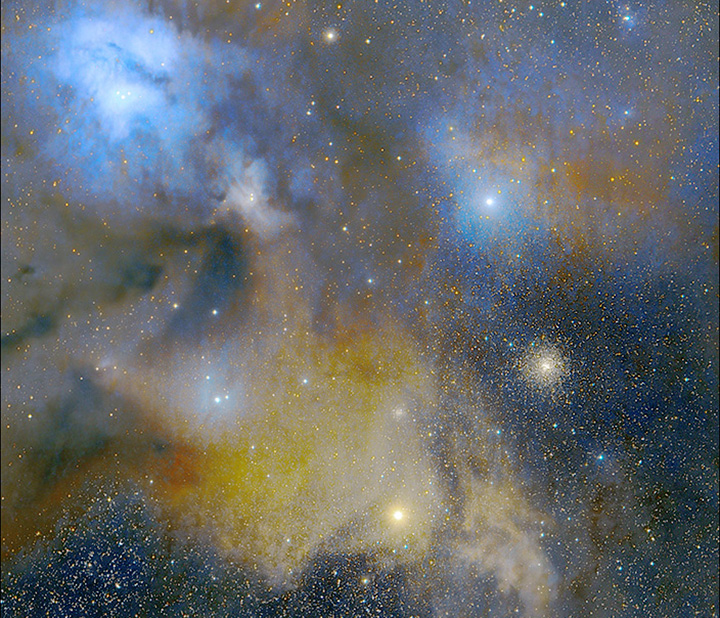
Click any of those for a better look.
Any post-processing worth doing is worth overdoing, right? Here's IC 4592 with much more emphasis on its clouds (bright and dark) and its colors.
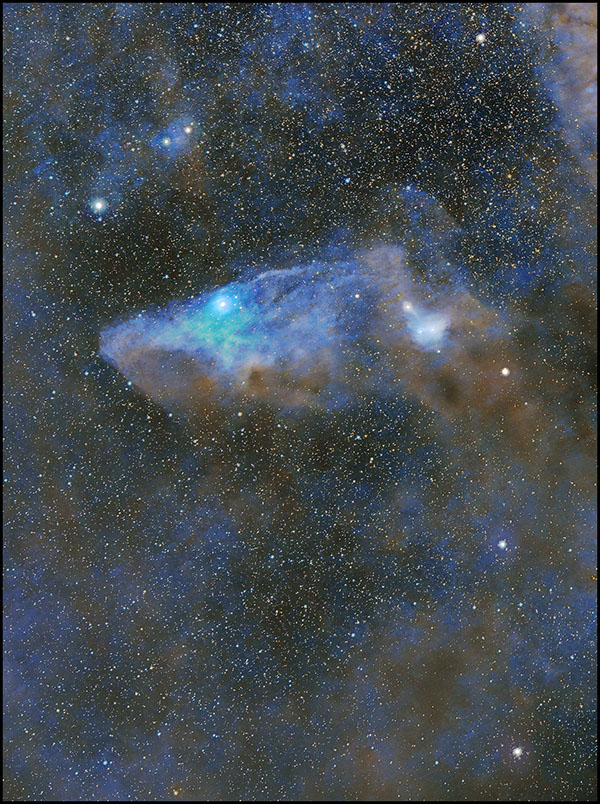
Click on it!
And now that I've worked with the field's details some, here's the whole field reworked to bring out dust using Pixinsight's "Starnet" routine to process nebulous details and star data separately:
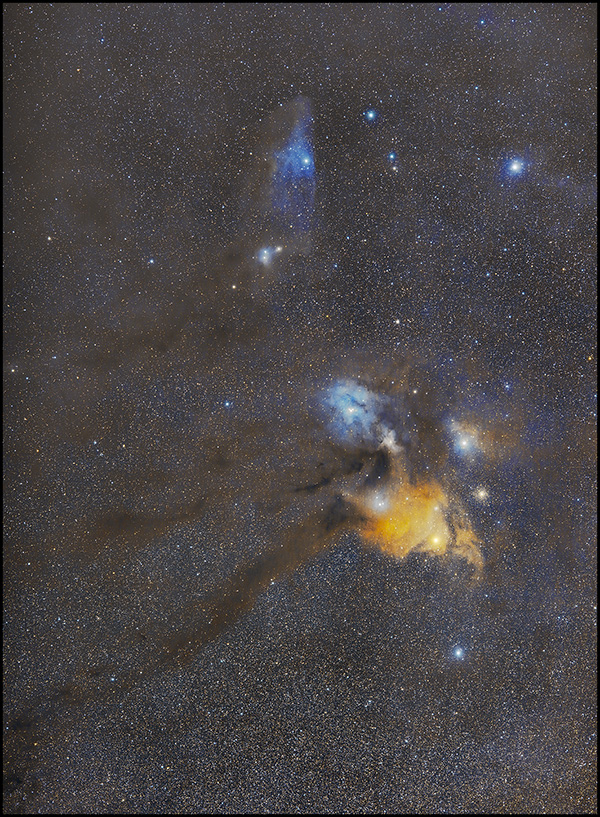
Worth a closer look, so gwan.
The metamorphosis from the raw data to finished images is particularly striking in this instance. Some weeks ago, I determined that a s/w treatment based on greatly defocused images could be used in a pinch for a flat frame to remove large-scale gradients and hotspots. ProDigital, the makers of StarSpikes, have done me one much better with a Photoshop plugin called "AstroFlat." Here's one frame from the multitude, a 30-second exposure at F2.0:
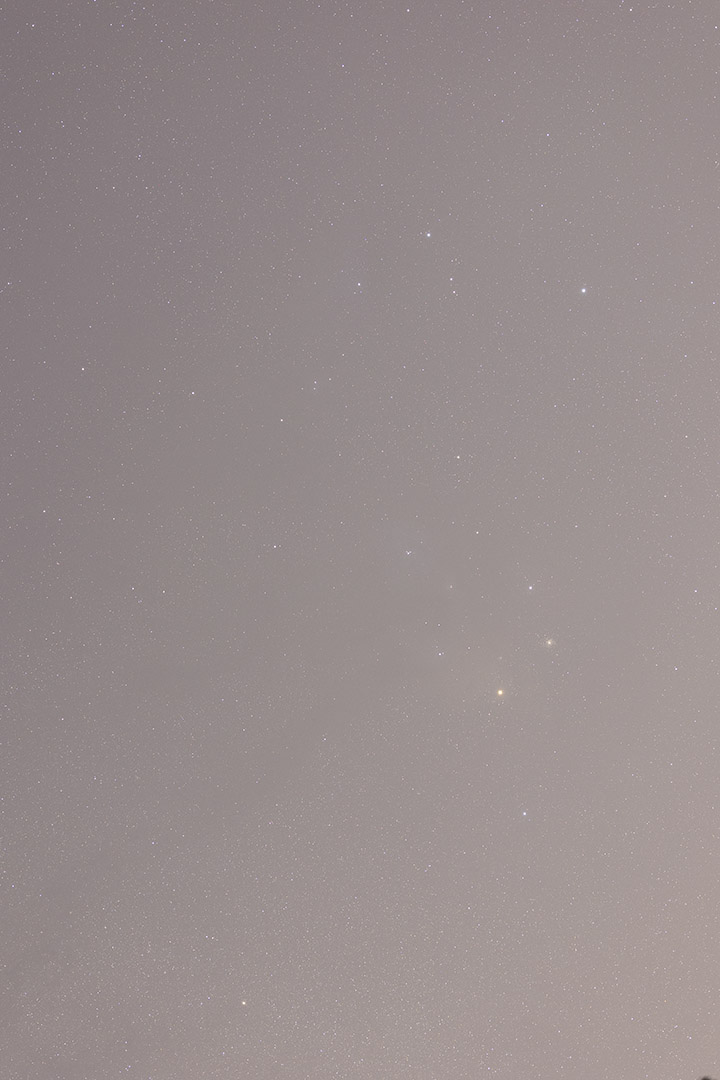
and here's what AstroFlat did with just that single sub:
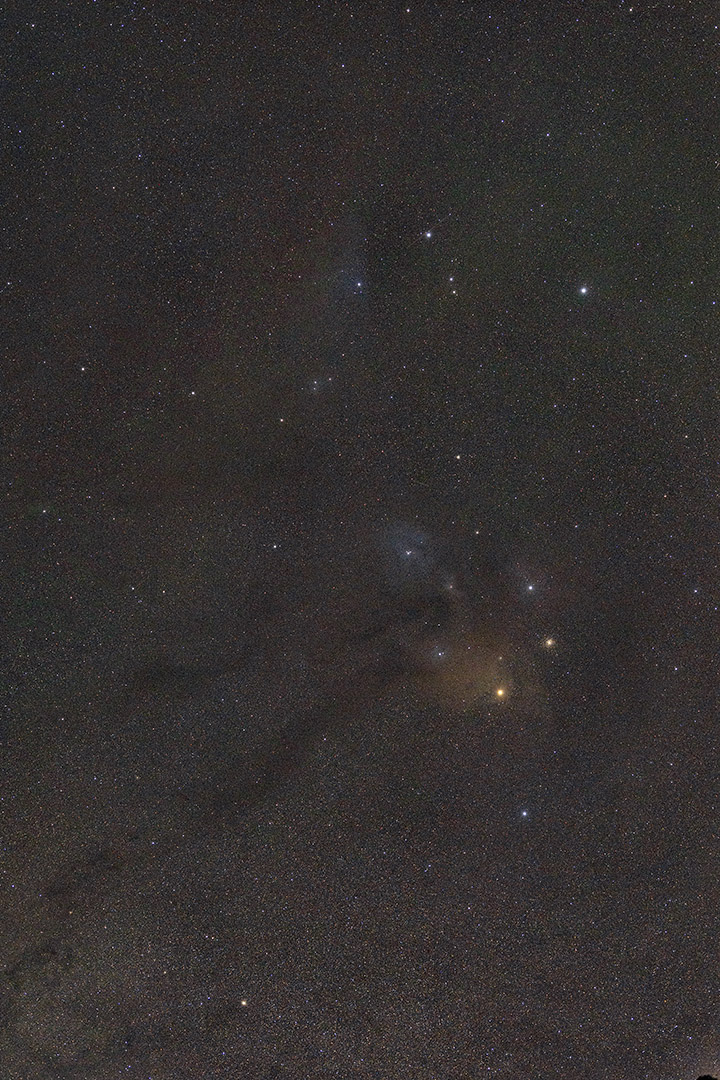
I piled up 160 frames very much like that raw frame in Pixinsight, aligned and averaged them, then applied the AstroFlat filter. I extracted a starless field so I could mix the stars back in while leaving the nebulae on center stage. The finished version is as you see in all the images on this page. When you "take a better look," at the cropped regions, you're seeing them at the full resolution available from the camera. I have not found a practical workflow for calibrating (or "calibrating") images prior to stacking using the flat that AstroFlat can export, but it clearly works quite well on the stacked data.
If an hour under class 5 skies and first quarter moonlight can do this, just wait till I can open up the lens, quadruple the ISO, and expose several times longer. (Never happy, what can I say?)