The Starry Night, 224 :: home :: |
Steampunk Astronomy, part 1
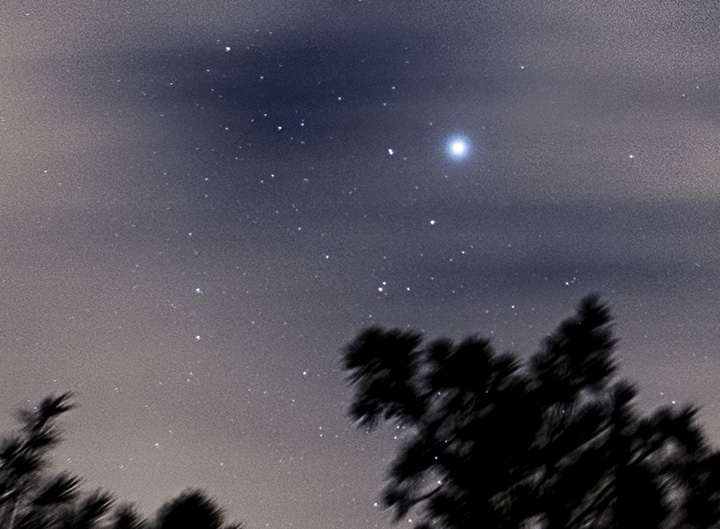
07/29/2022. A Purus Astromechanik tracker followed me home from Portland, Oregon, via Astromart. Made in the 1980's in Mannheim, it was said to be in somewhat rough cosmetic shape. No matter; who among my brethren doesn't want a heavy-duty 24-hour spring-driven softly ticking clock ready to spin cameras in counterpoint to the whirling Earth? Computers? Batteries? IC chips? Bah! The tracker itself is solid, but not all the engineering seems to live up to the expectations its bold "Made in Germany" placard might encourage. Every part of the mounting paraphrenalia needs improvement: both how the clock drive mounts to a tripod and how cameras attach to it. The previous owner sent along a makeshift mounting bracket to replace the (included) original hardware. ("I think it came off an office chair," Brett said.) I began playing on the lathe (an 1895 Barnes) within 24 hours. (ETA: four days, on that office chair bracket is perfect! Thank you.) First, I attached an Arca-Swift plate, the better to fit all my smaller tripods. Then I checked whether a Canon DSLR with a wide-angle lens would balance on the mounting arrangement as it came from Mannheim. Maybe it would in full original configuration, but not after adding the requisite ball head to permit proper aim and composition. The moment arm was just too long for the (brass) counterweight and (brass) shaft provided. The first thing I did was machine a (brass) bushing so that I could hang a 5-pound steel counterweight out beyond the one provided. Then I wound it up and carried it out under skies obscured by wide-spread, blowing clouds. Only one or two stars appeared. I didn't bother with careful polar alignment (as if I could've). A telescope and bracket are provided for polar alignment, but for this plausibility check, I just set it by eyeball by referring to two of the meridian rocks I've set out in the back yard. I focused quickly, by feel, and stopped the Zeiss 25mm lens down to lengthen the test exposures and buy some focusing forgiveness. Fifteen seconds at F2.8 and ISO 1600 worked well. I aimed one sequence into the northwest sky where UMa roamed (remind me to tell you about Jasper the bear, more of a UMi, but still -- see below), and I aimed the other overhead where Vega emerged from the clouds and overhanging pines.
Lyra clearing the pines, tightly cropped.
That sample uses less than 1/4 of the frame's width, so this field resembles the product of a 100mm or slightly longer lens. Not bad at all! The instruction sheet says to allow about a minute for the mechanism to take up slack, so I took sequences that ran for a minute and a half. All the frames were well tracked, hypothetical slack be damned. And yet, the mounting arrangement for the camera is decidedly flimsy, flexy, fiddly, and fragile. Tomorrow I'll revisit the lathe and set about making some improvements to the mounting scheme. More compact, less fidgetty, way, way less moment, with some adustability (probably enough). In the event more balancing options are needed, I have notions. One step at a time with this project.
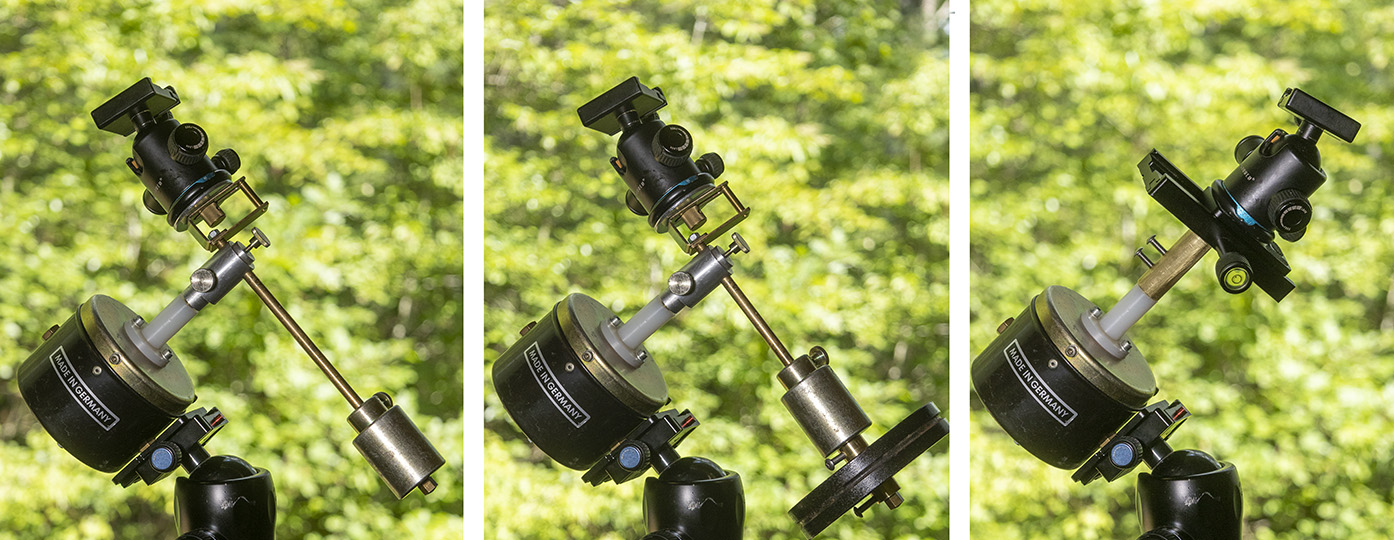
07/30/2022. Up and at it. Here's the "Purus" in three guises: stock, stock plus an extra counterweight, and with an on-axis camera mount using a brass shaft connector turned downstairs and some Arca hardware. Click the pic for a clearer look. The photo of Lyra is a product of the middle version. Incoming clouds suggest that the version at right is going to work just fine. This is going to be a nice companion to the sextant and slide rules. It's still not quite right. I'd prefer that the attachment of the camera mount to the drive shaft be tool-less (it takes a 1/8 inch hex key at the moment). And there's too much flex around the single-point of attachment between the black base and the Arca plate. A support made from folded aluminum foil (aka universal shim stock) helps considerably, but the real fix is probably some sort of cradle (like, maybe, some bracketry from an office chair). I think I'd like to shorten that mounting shaft, too, but I'm certain I don't want to make irreversible changes to this lovely bit of vintage hardware.
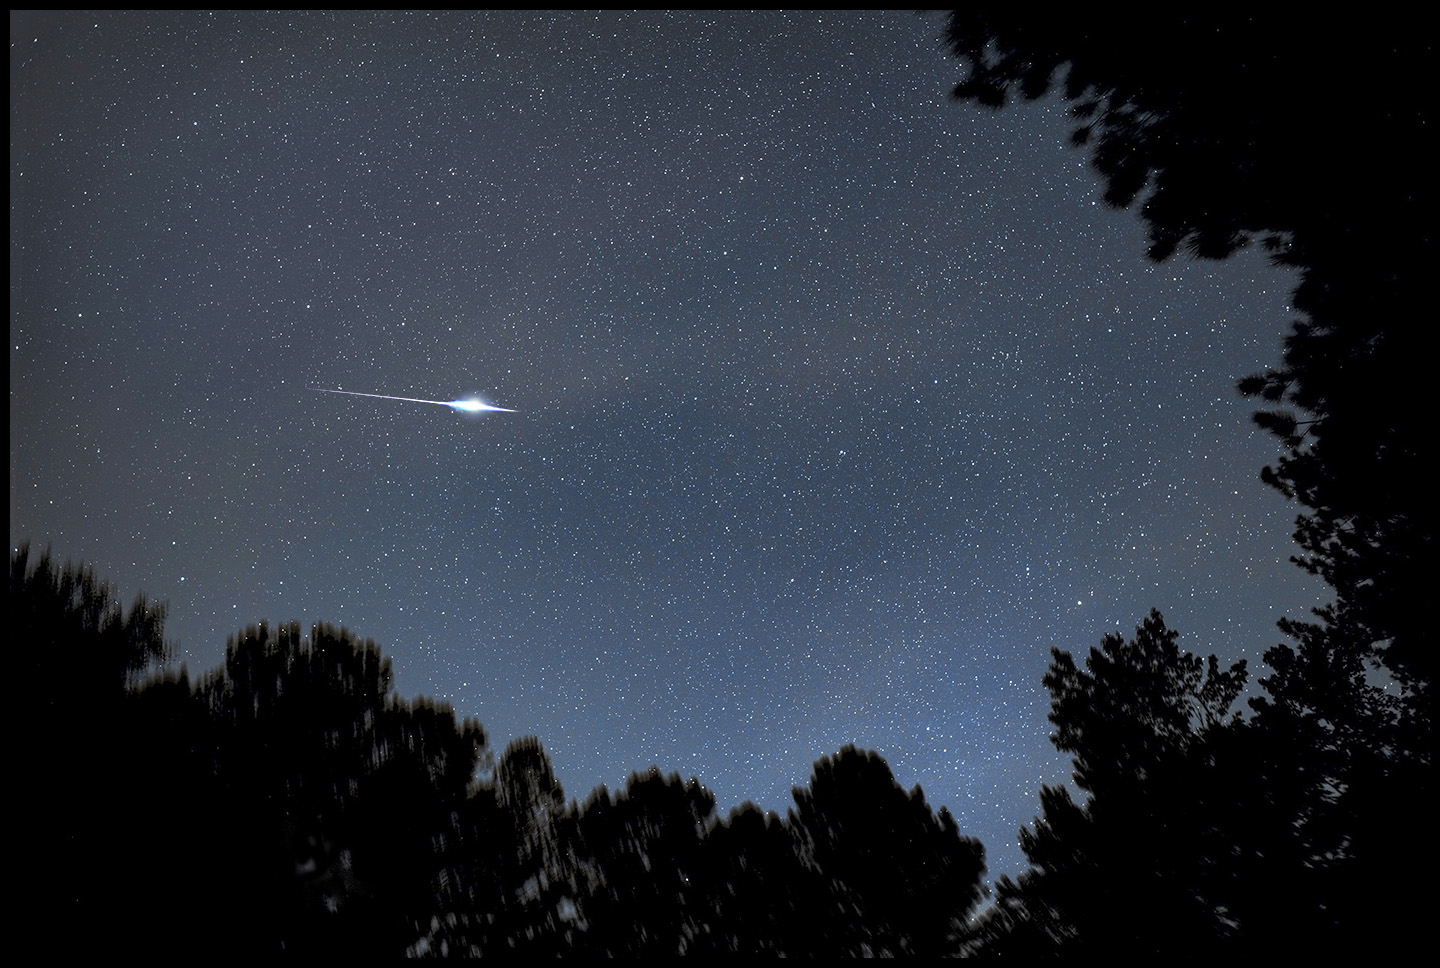
Later that same day: a dedicated Allen key and some 10-32 grub nuts are on the way to clean up the implementation. I've ordered a #9 grandfather clock winding key (square hole, 4.5mm on a side -- should be a good match for the one supplied). The original is wonderfully simple and functional, but it requires that I remove the camera mount to wind the mechanism. The new one will at least be a spare, but I expect that its ornate offset design will allow me to wind the tracker without dismounting any bracketry. If so, the tool-less design desideratum would be mostly moot. (Yes: the winding key works. I bought a #9 which should be a key with a square receiver about 4.5mm on each side; it's marked "#9" but is somewhat larger, closer to 5mm, which would be two sizes larger. It fits more loosely than I would like, but it works. If I used it a great deal -- weekly for years -- it might round the winding stem in the clock. So if a smaller one -- an honest #9, maybe a #8, conceivably a #7 -- turns up, fine, but don't sweat it.) The Purus is ticking away beside my desk. At 1:45AM, I mounted a heavyish camera (6D + 14mm) and aimed it due "south" with respect to the tracker. At 9:45, I would like to find it aimed due "west." (Later: just so! Also later: 22 hours after starting it up, it's still going. Is the ticking "comforting" or something that will dive me nuts? One of the sources I've just located warns would be travelers about the device's endurance: it'll run for a week, he says, and travelers had better take that into consideration, airport security being what it is. Based on its history (next page), it's very likely to be keeping mean solar time rather than sidereal time unless the surprisingly sophisticated movement within has been regulated as part of its manufacture. Compared to civil, solar time, it would need to run fast, gaining 235.9 seconds -- 3 minutes 56 seconds -- per day (alas, one of the photos in an article linked on the next page shows one being regulated exactly to civil time). If it is, in fact, keeping solar time, that will set an upper bound on how long subframes can be exposed. The difference in rates produces almost exactly 1 degree of trailing per day -- 3,600 arc seconds in 24 hours, or one arc second every 24 seconds. What that means in practice depends on the focal length of the lens and the size of the detector's pixels. The smallest (largest?) pixel scale I expect to use with this device, and that not routinely, would be the ASI1600 and a 135mm lens (about 5 arc seconds per pixel). A tracker running at the solar rate would suffer 5 arc seconds of trailing in just two minutes, but that's an extreme case. Each pixel in a Canon R6 behind a 25mm lens covers 54 arc seconds (a patch of sky not very much larger than the planet Jupiter's disk which would be hopelessly tiny in the frame). It would take almost 22 minutes for that combination to record one pixel of drift. There is no anticipated world in which I would expose subframes that long with that kit. In practice, it would take more than a single pixel of trailing to be consequential, but that's a decent starting point from which to set expectations. The things I've discovered ... there are apparently at least two models. One has a drive shaft set well off center, and the other (mine) has the shaft centered in the clock body. The latter was made at least as late as 1991 according to an advertisement that popped up in results while I was searching for clues about the device's origins and innerds. Notes on use: Even though it was still ticking away 48 hours into a two-turn wind, it would not keep the R6 and Zeiss lens (a heavy combination) turning without some encouragement. So keep it wound, and remember why I put that extended Arca clamp on there: so that the camera can be arranged to keep weight balanced or weighted slightly to the descending side (i.e., the cg should be on or slightly west of the meridian). The cosmos provided me a cloudfree, hazy sky to use for practice. I shot the Milky Way clearing the pines almost overhead and when I aimed into my widest sky, to the northwest, the sky gave me a very bright, short, slow meteor for fun. Its burst was brighter than Jupiter, fainter than Venus. Call it -3 or so.
R6, Zeiss 25mm F2.0 If I had more carefully polar aligned these sequences, I could have loaded them into a stack in Photoshop, averaged them and be done. As it is, I had to align the stars in Pixinsight and stack them that way -- which is probably to be preferred in any event. But aren't the stars nice? The next night, 8/02, I took it out into the neighborhood for a good gander at the Milky Way using the right-most version shown above -- camera mounted on a ball head held close to the axis of rotation. This time it did exhibit the need to let the slack run out of the gear train, but once it did, tracking was fine. The next page has some of the instrument's history and some fresh images.
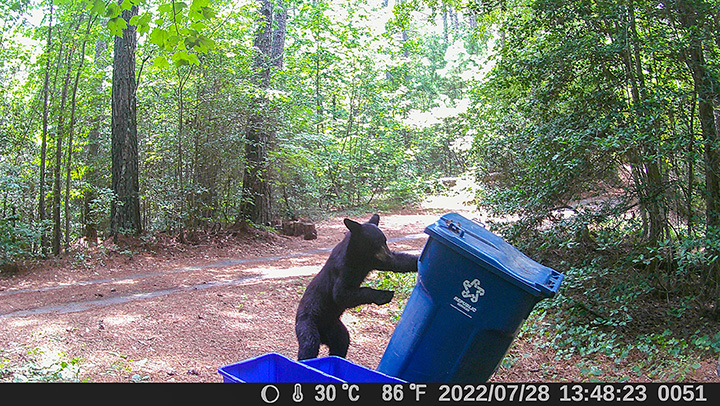
About Jasper. Elena named him. I caught this minor ursa messing with the garbage can day before yesterday. Do not ignore things that go bump in the night around here.
:: top ::
|
© 2021, David Cortner
