|
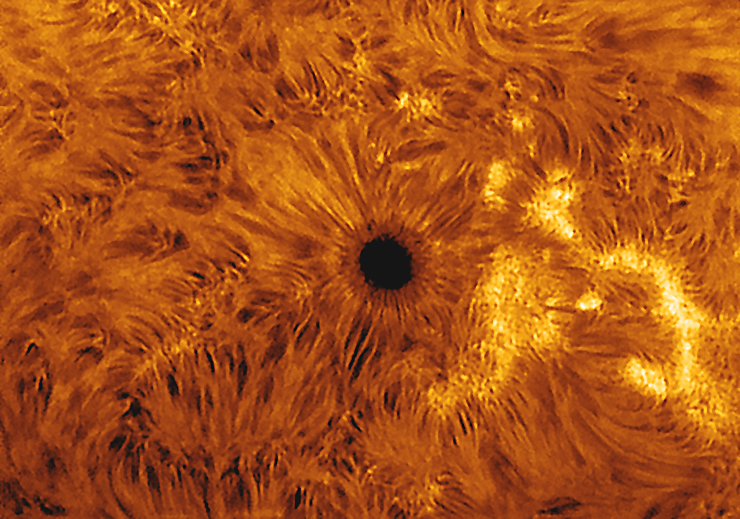
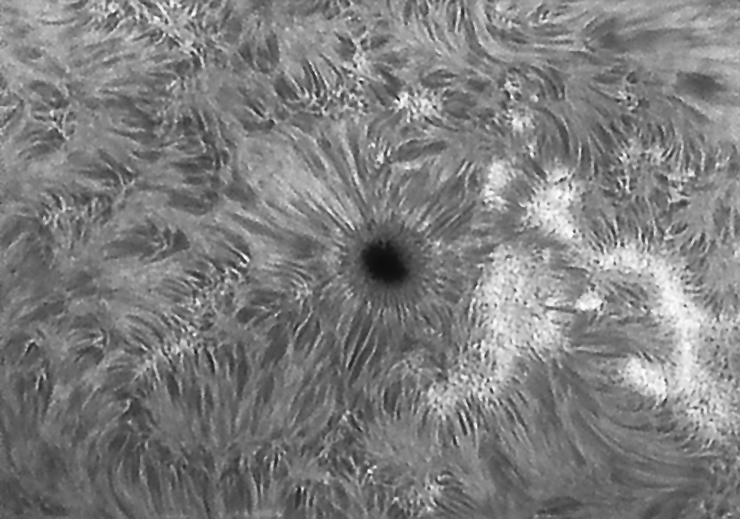
I only used this smaller combination for a day or two before moving on to the 152 development, and it worked spectacularly. It seems something of a neglected jewel. As soon as I put it to work today I saw much improved contrast, more even illumination, and extremely good detail. This combination works in a way that the 152 doesn't (yet). Use it some and figure out why.
Prominence
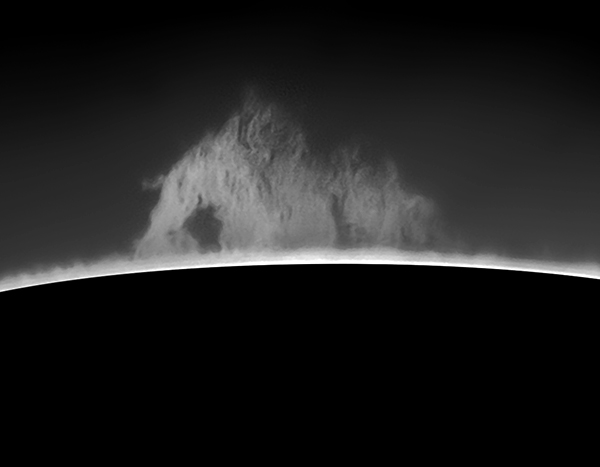
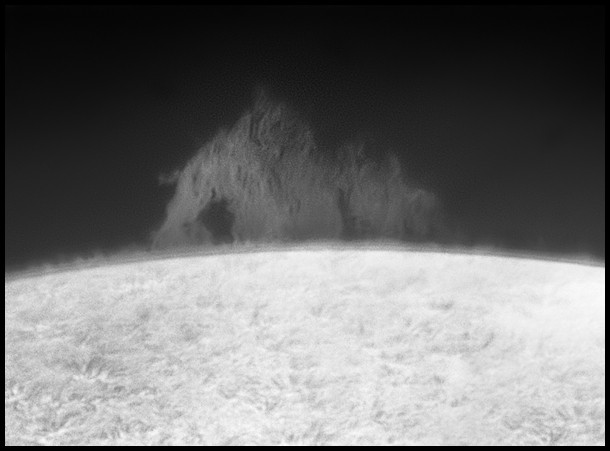
Measurements of the sagitta of this short arc of the limb show that these images were made at a plate scale of 0.25"/pixel. This is with the Barlow on the end of the snout (and no IR-cut filter). That seemed excessive, but it was the only arrangement I could bring to focus. During tear-down, I saw that the Lunt was not completely inserted into the Orion tube. Next time, I'll capture a wider field at a more modest scale. I'll repair the ERF (pix coming!) and test it in the 152 and then probably retire that kit until I can use it on the Mach1 next spring where I can refine it methodically. For now, I think the 90 beats it in just about every meaningful way, especially as part of a portable outfit.
10/19. I double-checked the coatings on the ERF against the filters on other Lunt components to be sure I was going to leave the correct face exposed. Then I found a solid surface to support the filter while the cement cures. Then I fiercely cleaned the side I intended to cement and one side of the substrate glass using Baader Wonder Fluid. Then, working in shade behind window glass, out of direct sunlight, I put three drops of NOA-61 optical cement on each broken half of the ERF, placed it on the aluminum support, and plopped the substrate on top, clean side down. I wiggled and twisted it around some. That was probably too much cement. I made sure the fragments were perfectly matched up and that the substrate was reasonably centered, then I took the tiny cookie-sheet outside and left it in direct sunlight to cure. Half an hour later, I discovered that some of the cement had leaked through the crack and out onto the lower surface of the ERF. I brought the partially cured glass inside and tried cleaning up the escaped cement -- mostly, maybe completely, successfully. I returned the stack to sunlight to continue curing. There is a small group of tiny bubbles in the cement, maybe some haze from the misadventure with excess cement that leaked through the crack. Maybe all is well. It's certainly not a pro-level job, but I think it will work. The forecast for bright sunlight today and more tomorrow moved me to plunge ahead with this. This weak autumnal sunlight is probably not ideal, so I probably won't get a full cure today. More suspense. Oh, goody.
:: top ::
|
© 2012, David Cortner


