|
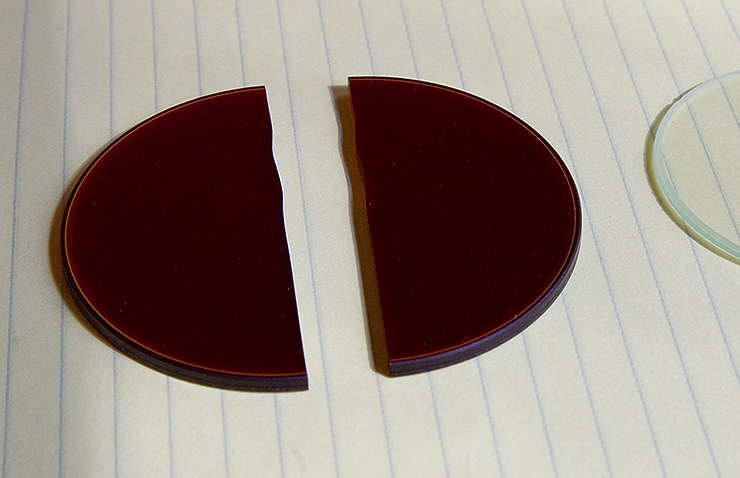
On the far right is a 72mm clear-glass photo filter; on the left, the cracked Lunt ERF. I compared reflections from a known-to-be-mounted-right ERF in my 60mm Lunt solar 'scope with the reflections from each side of this filter to be sure which had the IR-rejection properties. Then I cleaned the opposite side using a Baader cleaning kit formerly sold by A-P. I did the same to one side of the photographic filter. I put three drops of optical cement (Norland Optical Adhesive #61, bought from Edmunds) on each half of the ERF. That was probably too much. Two would have been plenty. And I pressed the cleaned side of the photo filter onto the ERF. Squoonched and rotated it around some to distribute the cement, pressing down to insure good contact, working bubbles out from between where the drops of cement met. I prepared this open-face optical sandwich on an aluminum plate padded with a lint-free lens-cleaning tissue to assure solid, flat support, and I worked in the shade, indoors, because the UV from sunlight (absent the specified 100w "mercury lamp") can be used to quick-cure the cement. Once happy-ish with the arrangement, I removed the tissue and carried the filter and aluminum plate outside into full, clear sunlight.
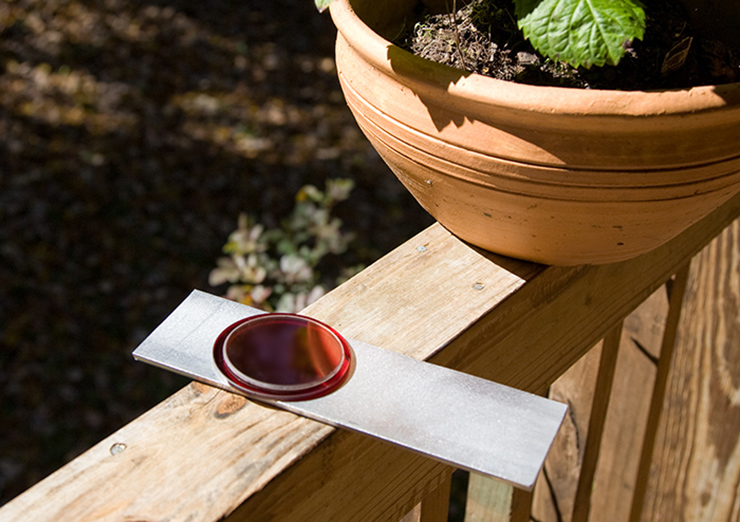
That's when it occured to me that the "clear photo filter" just might be a UV filter, but, well, what's done is done, and I hoped it wasn't a very good one. Whatever. In 15 minutes, the sandwich was semi-set and in a couple of hours it was nicely so. Then I discovered that some of the excess cement had leaked through the fissure in the ERF and spread out on the IR-rejection side. Panic! Don't glue it to the aluminum, don't make a translucent mess on the surface, don't disturb the bond... I brought it all inside, filpped the sandwich, cleaned the cracked surface (and the aluminum) as aggressively as I dared, and took it back outside. S'OK, I think. Several days later, the bond was as good as it's going to get:
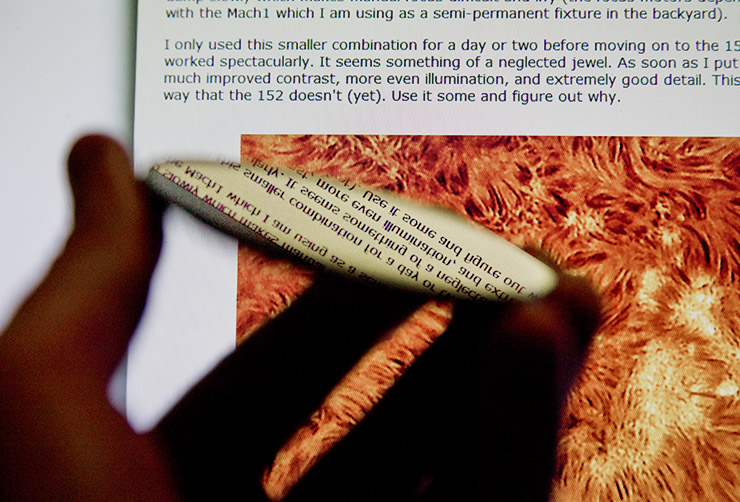
That's the repaired filter reflecting a page of the Slowblog from the ERF side. I don't see any discontinuities there and you have to look to see a line through the middle of the filter when viewing it by transmitted light. Sky trials to come.
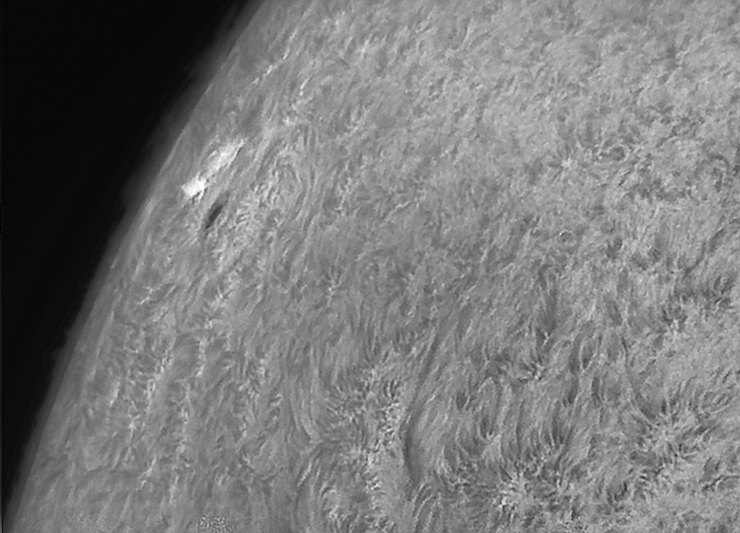
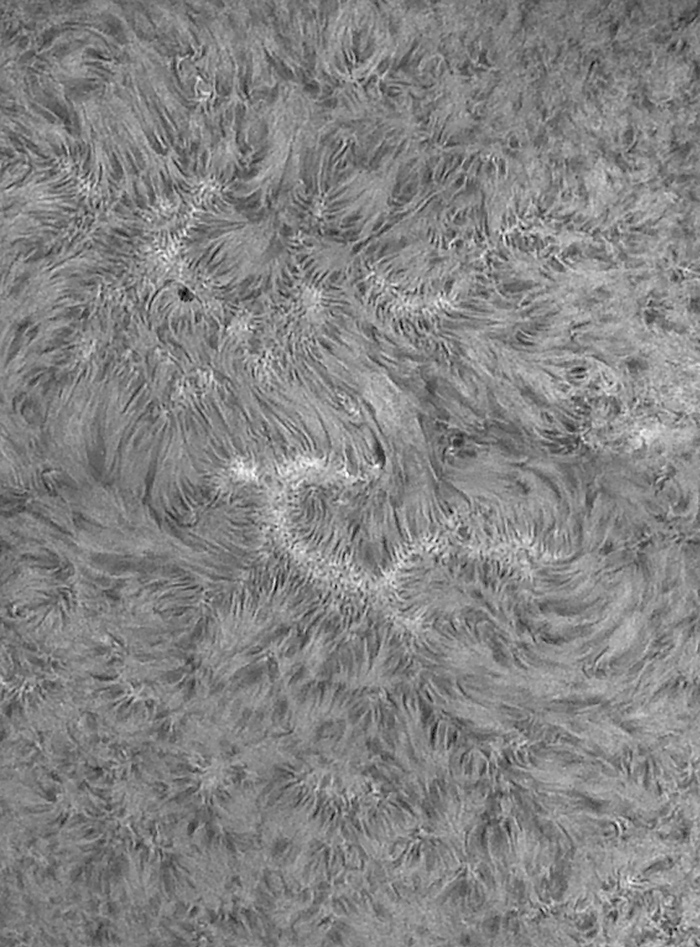
11/3/2012. But not today. I let the batteries get weak, both the gel cell that drives the mount and the internal battery in the computer, and I ended up powering both devices at one time or another from the Honda's 12v auxilliary plug (the one that used to be called the "cigarette lighter"). Mostly I just wanted to keep my hand in on a day of low solar activity, reasonably good transparency, and mediocre seeing. Practice, Mister, practice:
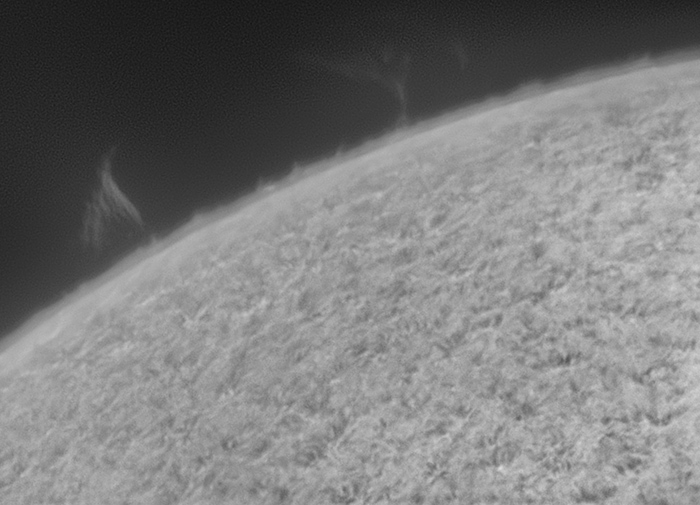
The bottom image is a two frame mosaic of 1602 and environs made from 1.5 GB clips for each panel; the rest are distilled from 1GB clips. All these images use about 150 frames (10-15%) from available clips to knock down electronic noise and still retain some semblance of a seeing filet. I used a gamma of 1.9 for the top shot and 0.5 for the rest. I'm trying to retain some detail in the chromosphere when seen in profile; it's naturally easier at higher gamma but there's a balance to be struck between the ease of retaining surface and limb detail, as always. So far, so good. Also, the chromosphere at the limb is easier to catch with increasing aperture; 90mm seems sufficient, but if I recall correctly, it's much more obvious with 152.
:: top ::
|
© 2012, David Cortner